
Weather Widget
How to Add a Live Weather Widget to Your Digital Signage Screen
Display real-time weather updates for any location on your screen.
Introduction
In today’s fast-paced world, keeping your audience informed and engaged has never been more important. Whether you’re managing digital signage in a retail store, office building, hospital waiting room, or school hallway, displaying real-time weather information has immediate value. Displaying a live weather widget on your digital signage screen will keep your viewers up to date with current conditions, all in real-time, with no need to pull out a form or check a separate app.
Wilyer's digital signage app CMS, adding a real-time weather display to your digital signage, has never been easier. In this step-by-step tutorial, we will walk you through everything you need to know, from logging in to Wilyer Digital Signage CMS to displaying your live weather TV screen
Why Add a Weather Widget to Your Digital Signage
Before we begin, let’s just briefly go over why a live weather display TV screen setup is a smart decision for your digital signage network.
Instant Value: Your viewers will immediately benefit from having real-time, relevant information displayed.
Increased Engagement: Weather is universally relatable and keeps eyes on your screens longer.
Professional Look: Displaying a live weather TV screen will give your digital signage content a more professional look.
No manual Updates: Your digital signage will be updated in real-time, no staff effort required.
Flexibility: It will work seamlessly with your other content, whether that be a promotion, announcements, an image, or a video.
What You’ll Need Before You Begin
An active Wilyer Digital Signage CMS account.
Display device or screen connected to your network
City name (s) you would like displayed with your live weather display TV screen
High-speed Internet Connection.
Step-By-Step: Setting Up Your Live Weather Widget
Step 1: Go to the Wilyer Dashboard
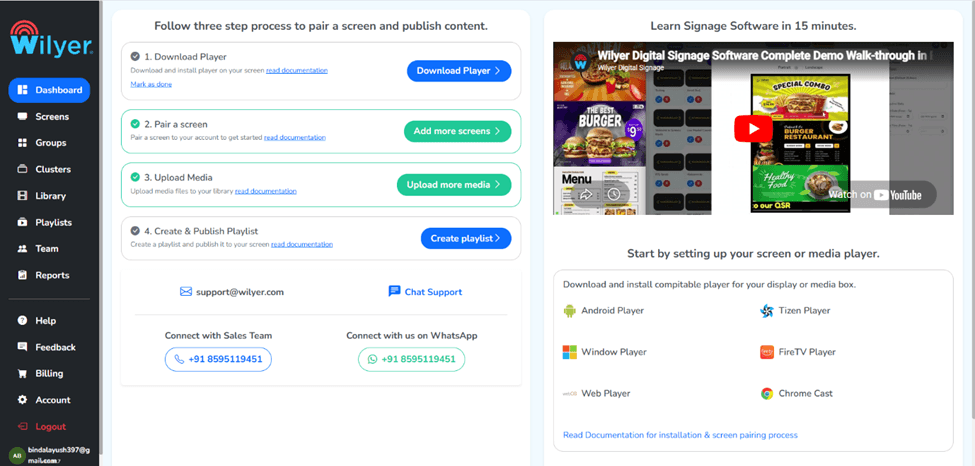
The First step is to log in to Wilyer digital signage content management system (CMS) dashboard. You need to enter your details as a registered user. After that, you will be directed to the main dashboard, where you can start managing all your screens, playlists, and widgets.
Step 2: Navigate to the Playlist section
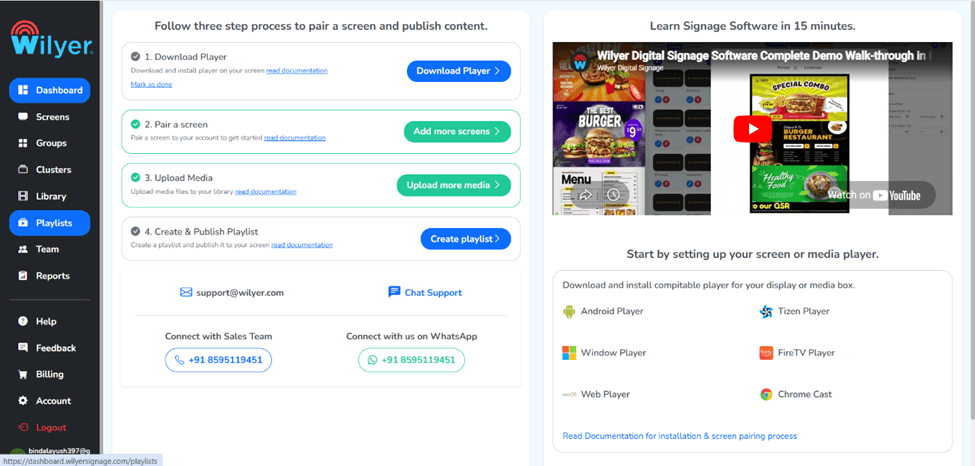
You need to navigate to the Playlist section, which is located on the left side of the menu bar. Playlists are the main components that hold all your digital signage content, including images, videos, and other widgets. You need to click the “Playlist” button to enter this section, where you can start viewing or creating new playlists.
Step 3: Click on the “+ Create Playlist” Button
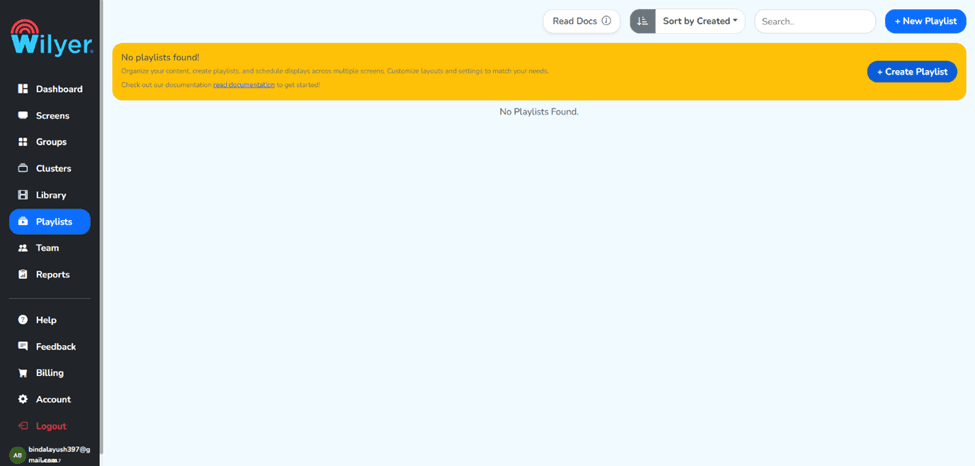
You need to click the “+ Create Playlist” Button, which is located inside the playlist section. This is the area where you can start creating a new playlist for your digital signage content, including the weather widget and other content that you want to display on your signage screens.
Step 4: Fill In Your Credentials and click on the “Create Playlist” button
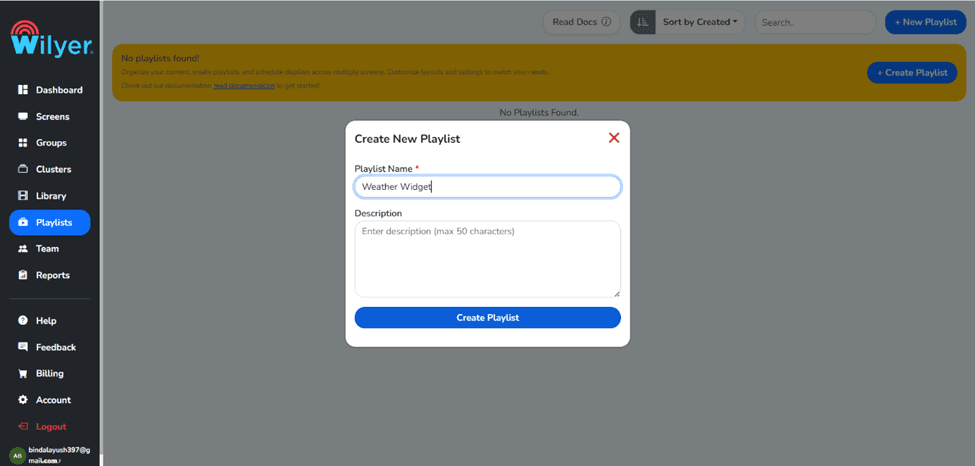
You need to enter the details required to fill in the form that is presented to you after clicking the “ + Create Playlist” button. After filling in all the details required, you need to click the “Create Playlist” button to start creating a new, empty playlist that can hold your weather widget and other content that you want to display.
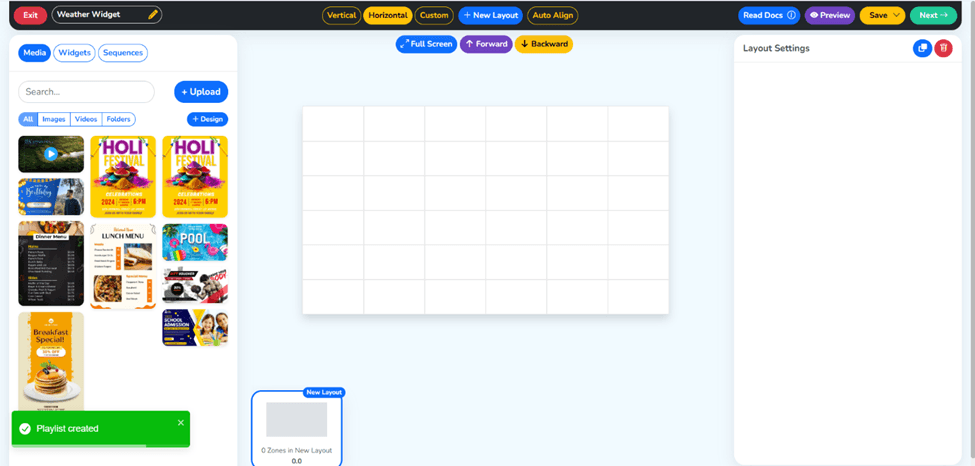
Step 5: Your Playlist has been Created
Once you click “Create Playlist,” you will get a confirmation that your playlist has been successfully created. Now, you can see your new playlist in the playlist area. Your playlist is now ready to be filled with content, including the live screen display for the weather widget, which we are about to configure. Think of this as setting the stage for your weather widget signage configuration.
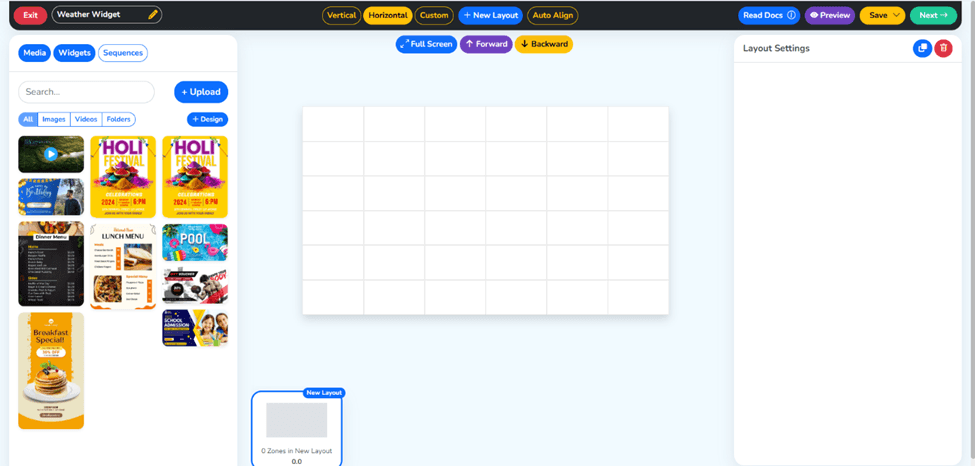
Step 6: Navigate to the Widget Section
It is time to explore the widget section. As previously described, the widget section is a section in the Wilyer CMS that offers a variety of predefined content that can be inserted into a playlist. Now, navigate to the Widget section through the menu bar. You can find several different widgets that can be inserted into your playlist, including social media, a clock, a countdown, and the weather widget for your weather widget signage.
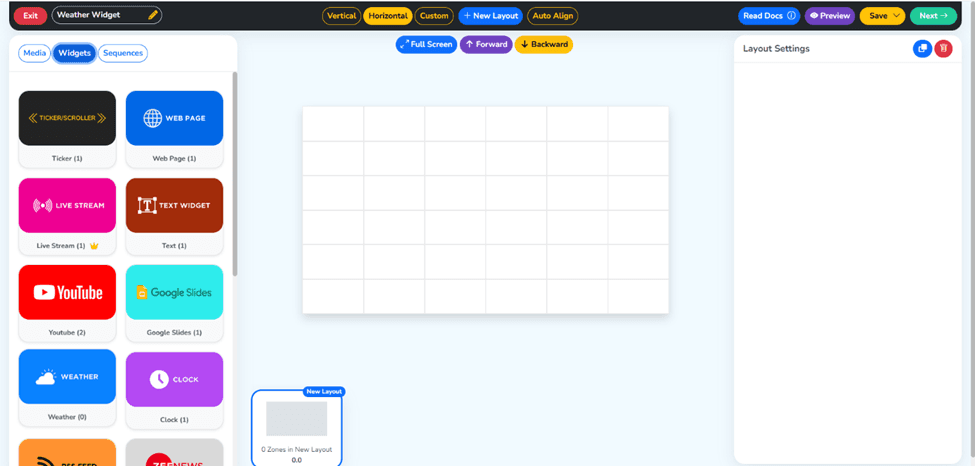
Step 7: Click on the Weather Widget section
Now, navigate to the Weather Widget section and click on it. You can find the Weather Widget section in the Widget section, and clicking on this section will take you to the weather widget area, where you can either edit an existing weather widget or create a new one. The weather Widget digital signage feature is designed to fetch live content directly from the weather service and then display that content beautifully on your screen.
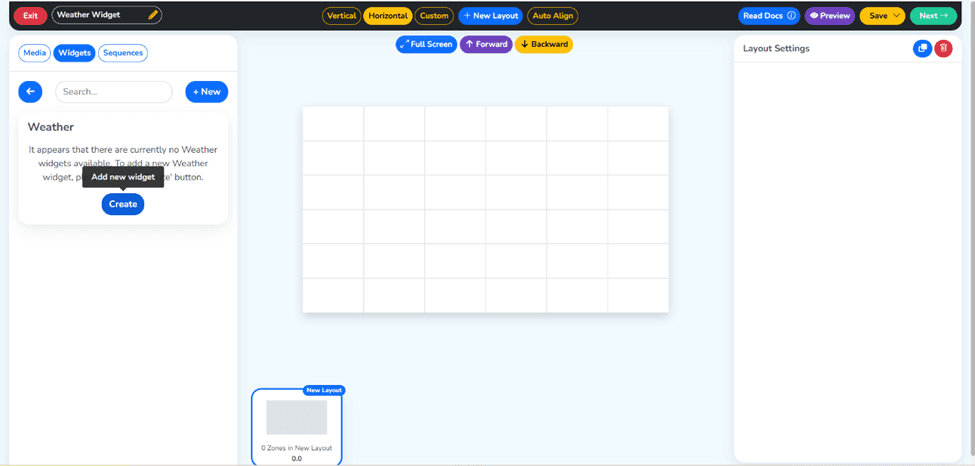
Step 8: Add a New Weather Widget
Click on the button to add a new weather widget. This will bring up a configuration screen where you will be able to set up your weather widget. Here, you will be entering the details for your live weather display setup. You will need to specify the location to get the weather details from, and also what to name your widget.
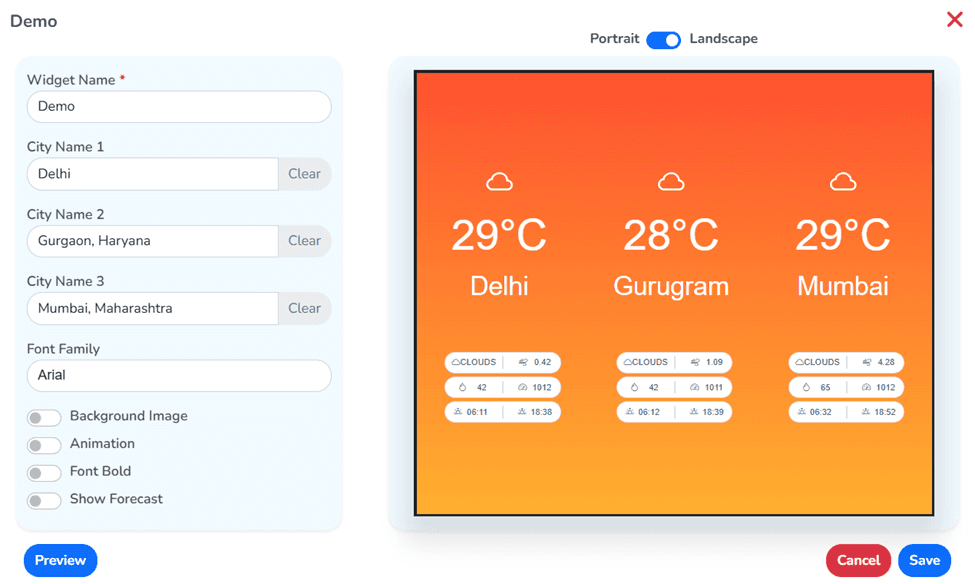
Step 9: Fill In Your Widget and Cities
You will need to fill in some details on the screen that comes up when you add a new weather widget. You will need to fill in two details:
Widget Name: You will need to give your weather widget a name. You could name it something like “Office Weather Display” or “Lobby Weather Widget.”
City Name(s): You will need to specify the city name(s) that will be displayed on the screen. You have the option to specify more than one city, depending on what type of weather widget signage CMS solution you are using.
Click on the “Save” button to save your weather widget.
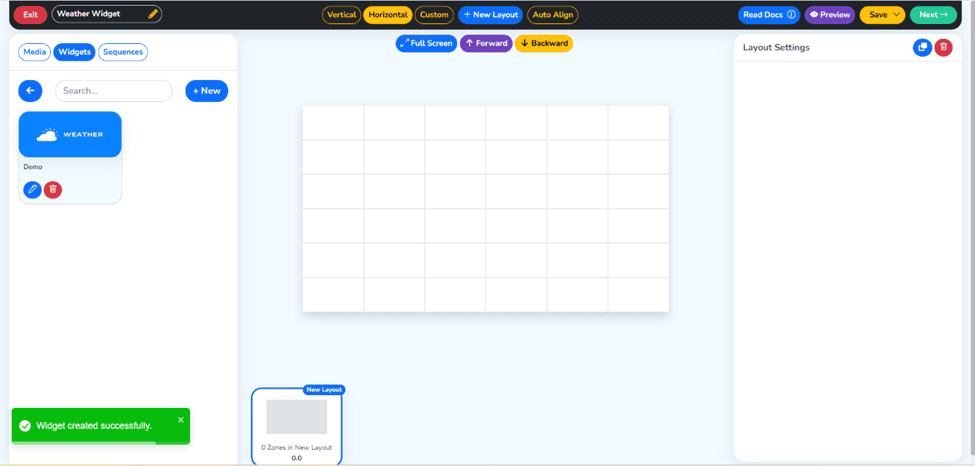
Step 10: Your Widget has been Created Successfully
Once you’ve saved your widget, Wilyer CMS will display a message confirming your weather widget has been created successfully. You can now view your new widget in your widgets library.
The new widget has been created and can be added to any playlist in your digital signage setup, allowing for its use in a variety of different screen configurations, such as a weather widget digital signage setup.
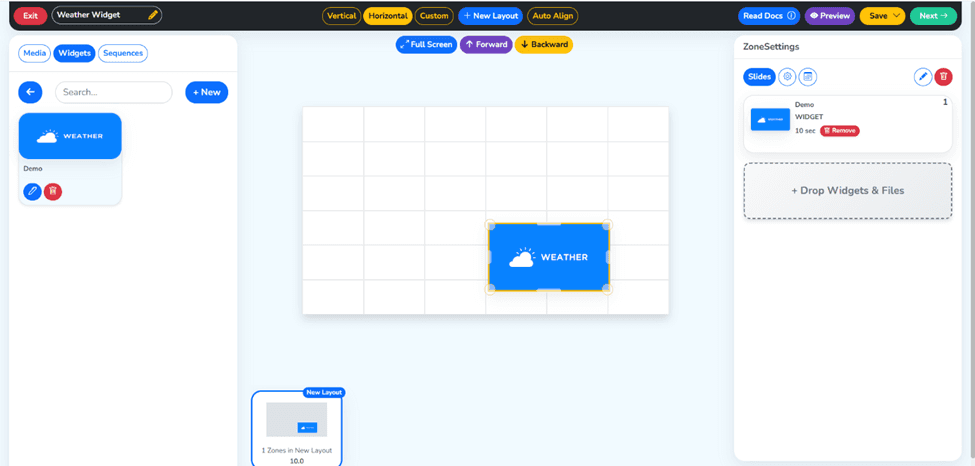
Step 11: Drag and Drop the Weather Widget into Your Playlist
You’re now ready to add your weather widget to your playlist. You can do this by opening your playlist and then dragging and dropping your new weather widget into your playlist. You can use this interface to create your new weather screen display.
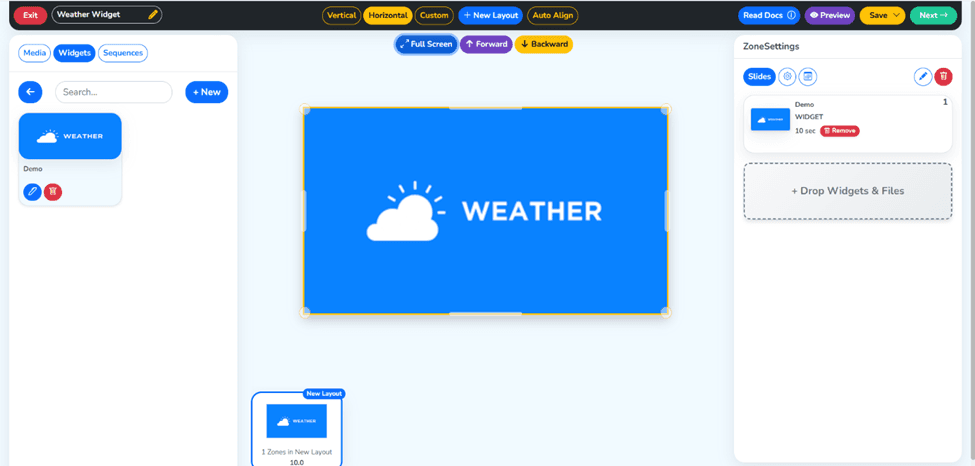
Step 12: Click the “Full Screen” section and press the “Next” Button
Once your widget has been added to your playlist, click the “Full Screen” button and then proceed by clicking the green “Next” button. You’re ready to move forward. This moves you through the publishing workflow, confirming the content arrangement in your playlist and preparing it for assignment to a specific display screen. This is a key step in completing your live weather TV screen setup.
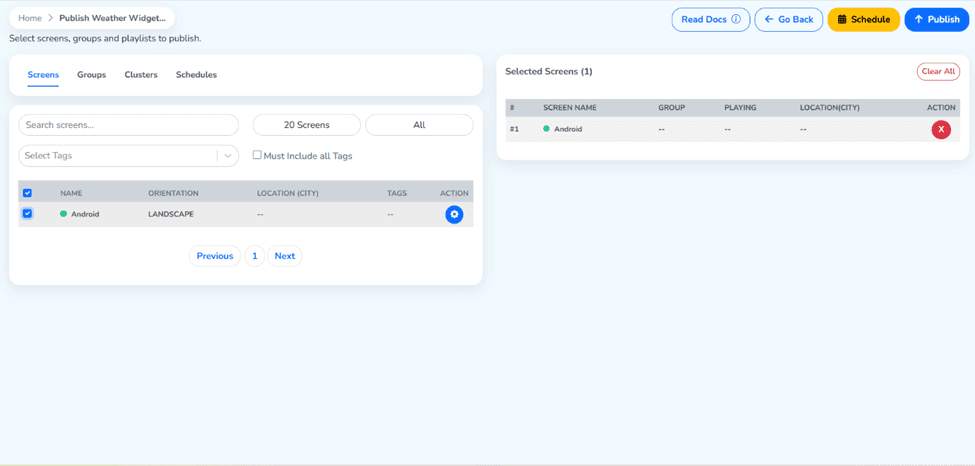
Step 13: Target Your Screen and Click Publish
Next, you need to choose the screen or the display that you wish to publish your playlist to. You need to choose the target screen from the list of registered devices. This is where your live weather display setup is going to go live. After choosing the right screen, you need to click the “Publish” button to publish your weather widget digital signage content to the chosen screen.
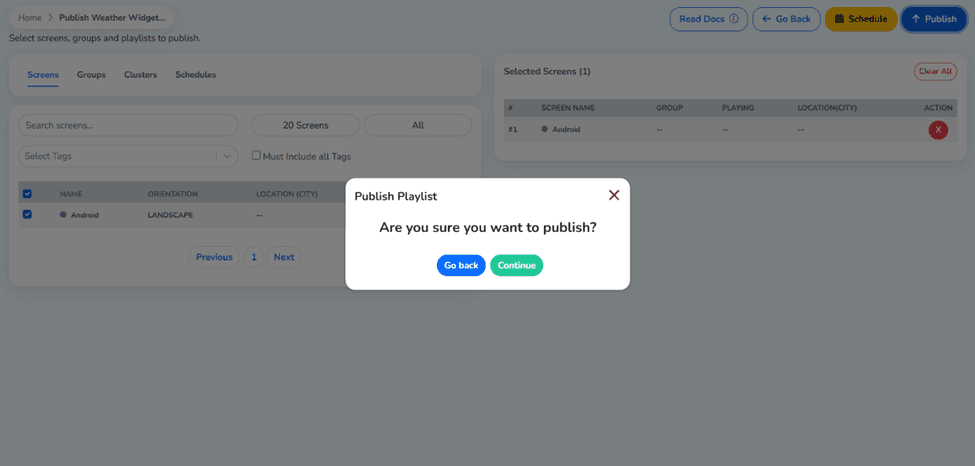
Step 14: Click on the “Continue” button
You may get a confirmation dialog or a confirmation screen. You need to click the “Continue” button to continue with the publishing process. This is to confirm that you are ready to publish the weather widget signage CMS content to your designated screen or display.
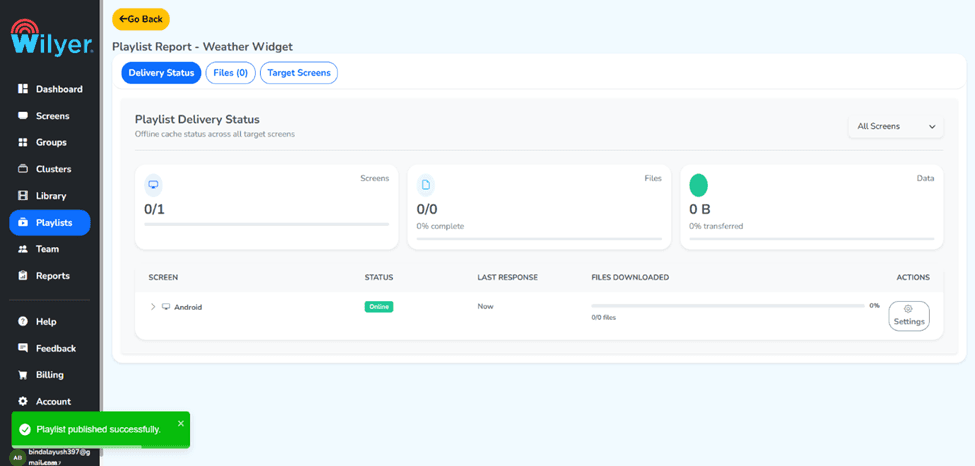
Step 15: Your Playlist has been Published Successfully
Congratulations, you have made it this far, and the Wilyer CMS is going to confirm that your playlist, including your live weather widget, has been published to the screen successfully. Your digital signage screen is displaying live weather information. Your live real-time weather screen display is operational and is displaying live weather information. It is automatically displaying the changes that are happening to the weather.
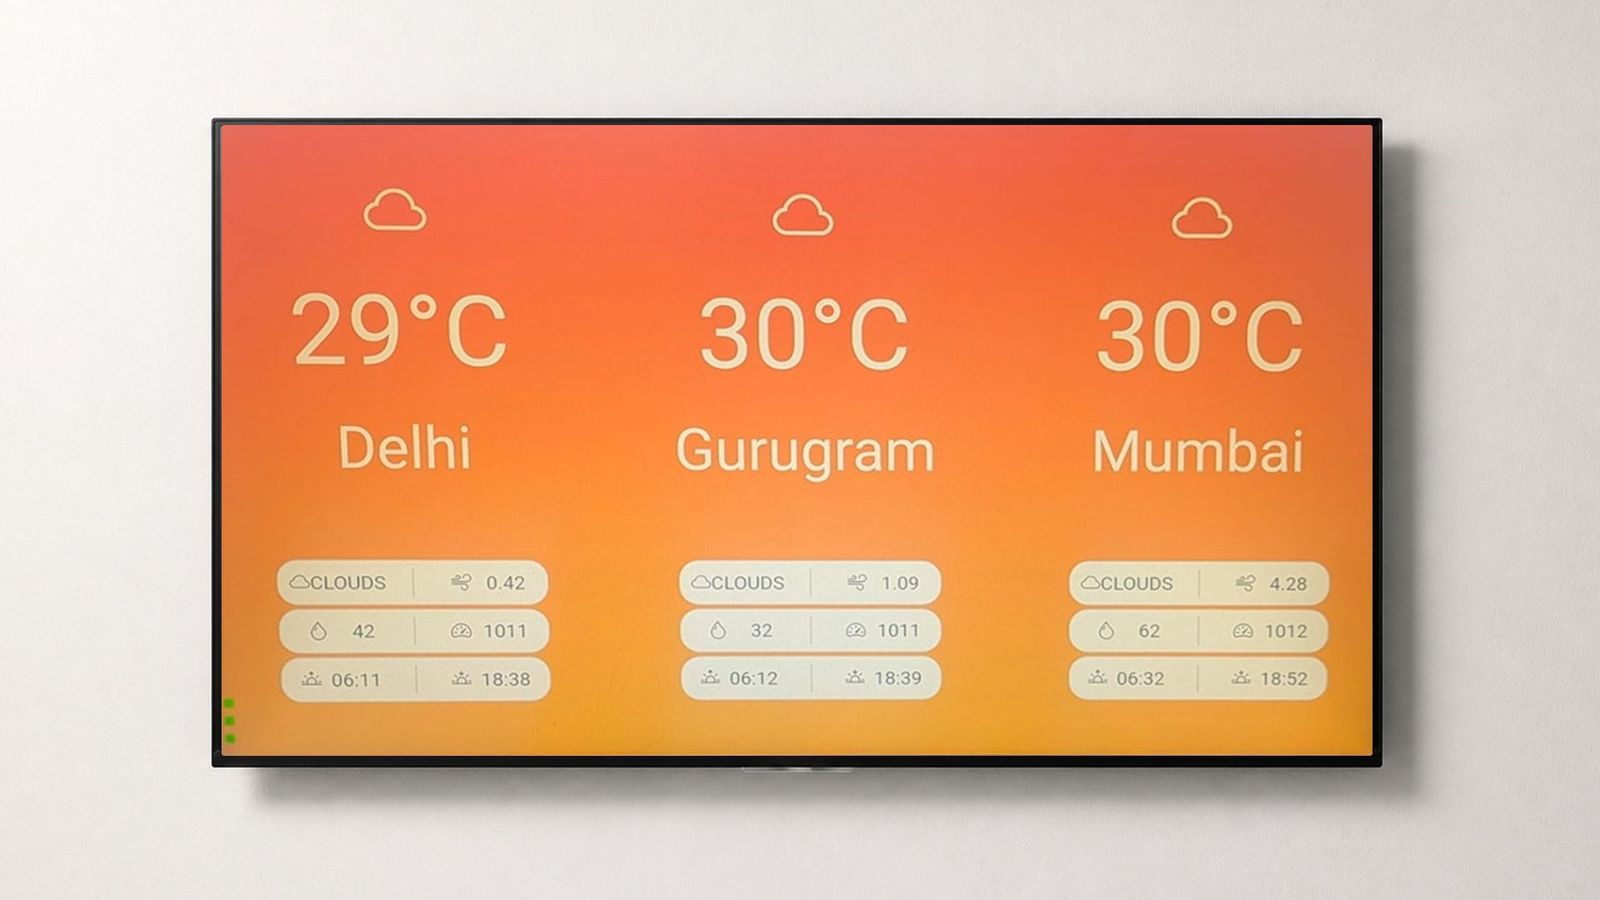
Final Step: See the Result on your screen
Go ahead and take a look at your screen to see that your live weather widget is up and running. Your weather display signage screen is displaying live weather information for your chosen city or cities. This is your live weather TV screen displaying live weather information for your viewers.
Conclusion
With the help of Wilyer’s CMS system, you can now integrate a live weather widget into your digital signage screen like never before. This is because you can now do so with just a few simple steps.
Regardless of the digital signage screen you are looking to improve with the weather widget digital signage feature of Wilyer, you can now do so with ease and professionalism.
Throughout this guide, we have taken you through the entire process of the weather widget digital signage screen configuration with Wilyer’s system. Now it is up to you to get the most out of the process.

توافق منصة متعددة لكل شاشة عرض رقمية
قم بتشغيل برنامج الإشارات الرقمية الخاص بـ Wilyer على نظام التشغيل المفضل لديك دون أي عناء.
