


Widget de Google Slides
Cómo mostrar presentaciones de Google Slides en pantallas de señalización digital
Muestra presentaciones automáticamente en pantallas sin control manual.
Introduction
One of the best ways to show dynamic content on screens is through Google Slides Digital Signage. If you need to set up a Google Slides presentation on a TV screen in a lobby, waiting room, retail store, or conference hall, connecting it to a Digital signage CMS makes the process smooth. This guide will provide you with screenshots and a comprehensive, step-by-step configuration process for Google Slides Signage setup, helping you get your screen online in no time.
Why Use Google Slides for Digital Signage
No design Software Needed - Create and edit presentations directly in Google Slides
Easily integrate via Google Slides embed signage CMS using a published URL
Real-time updates - changes in Google Slides reflect instantly on the screen
Free to use with any Google account - ideal for businesses of all sizes
What You’ll Need
A Google account with a published Google Slides presentation URL
Access to a digital signage CMS platform with widget support
A display screen connected and registered in your signage system
Step-By-Step Guide
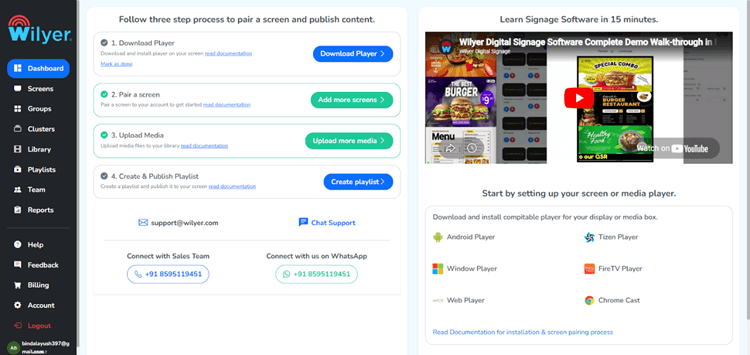
Step 1: Go to the Dashboard Section
The First step is to log in to Wilyer digital signage content management system (CMS) and open the main dashboard. The dashboard is where you manage every aspect of your screens and content (screens, playlists, widgets, settings) from a single location. Spend some time looking over the dashboard so you become familiar with its layout before you move on. By starting on the dashboard, you also have all of the information at your fingertips regarding your signage environment.
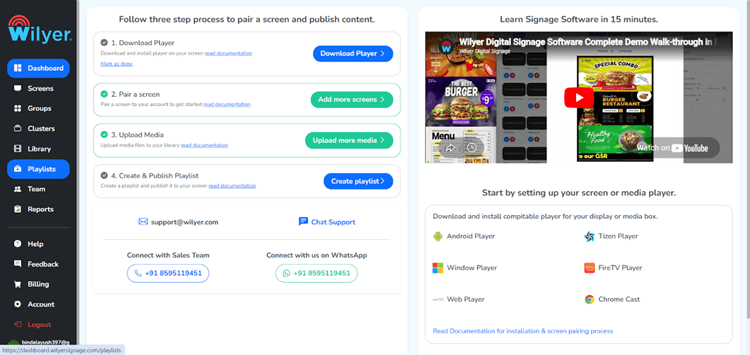
Step 2: Navigate to the Playlist Button
The second step is to locate the Playlist button in the left navigation bar or top menu on the dashboard. The Playlist area is used to organize, schedule, and manage the content that will be shown on your screens. A playlist is like a container that holds all of your widgets, images, and videos in an order that represents the sequence for your Google Slides digital signage campaign
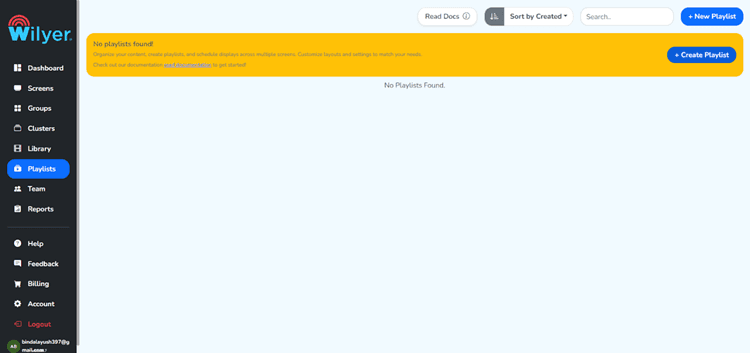
Step 3: Click on “+ Create Playlist” Button
To start a New Playlist, go to the playlist section and then click on the ‘+ Create Playlist’ button. This is where every Google Slides loop screen display will begin. Your new playlist is the base of your signage schedule, where you will keep your Google Slides widget and any other content that you want to show on your display in the order you would like.
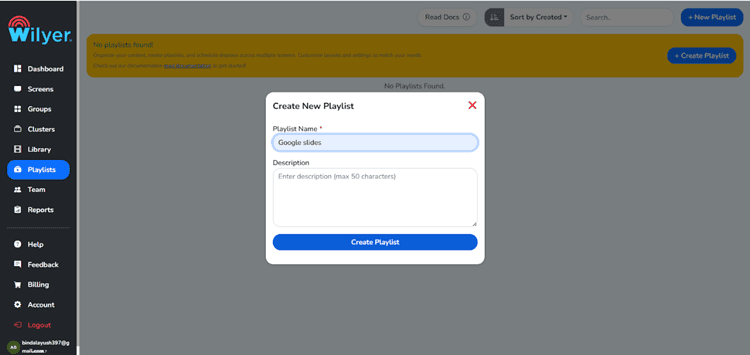
Step 4: Fill in your Credentials and Create the Playlists
Once you form the digital signage playlist, you can access the form to create the playlist by clicking Next when you have filled in your credentials, and when the form appears, you will enter the following details: playlist name, description, screen orientation, and default time. Fill in all the fields so that they accurately describe what this particular playlist is for - for example, “Lobby Google Slides Display.” Once you have accurately entered everything, you will create your new digital signage playlist in the system.
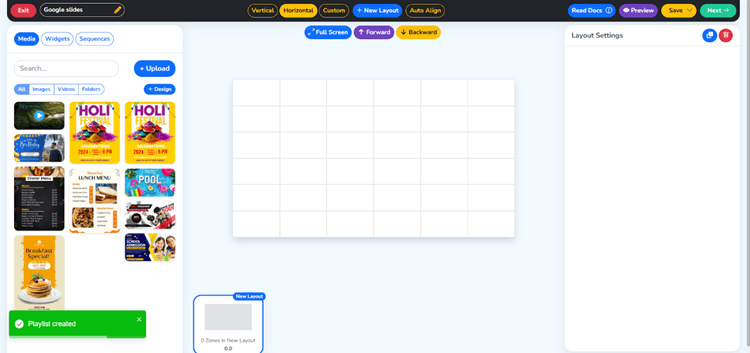
Step 5: Your Playlist has been Created Successfully
You successfully created and added a playlist to your playlist manager after selecting “Create Playlist.” The new Playlist will appear in the playlist manager with both its name and its current status. This is confirmation that your playlist has been created successfully and is ready to hold content. An addition to your Google Slides widget can now be made to this new playlist. This will be the main schedule that will control your Google Slides signage configuration settings on the destination screens.
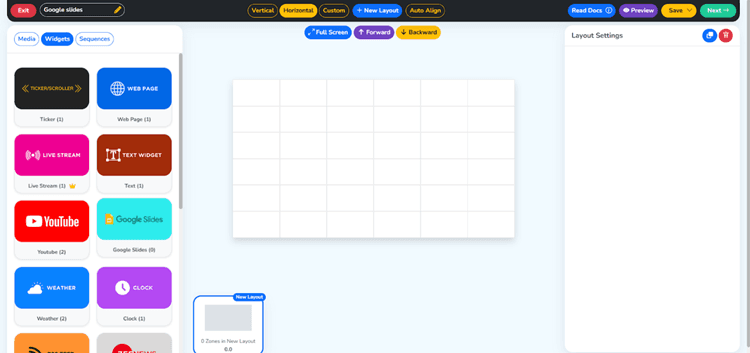
Step 6: Click on the Widgets Button
You can access the Widget section of your CMS (Content Management System) through either the sidebar or in the main menu. The widgets are pre-built, plug-and-play content modules that you can add to your new playlist. Within the Widget library, you will typically find options for images, videos, RSS feeds, weather, etc., and most importantly for this guide, you will find a dedicated Google Slides widget that will allow you to connect your presentation to your signage screen through a simple URL integration.
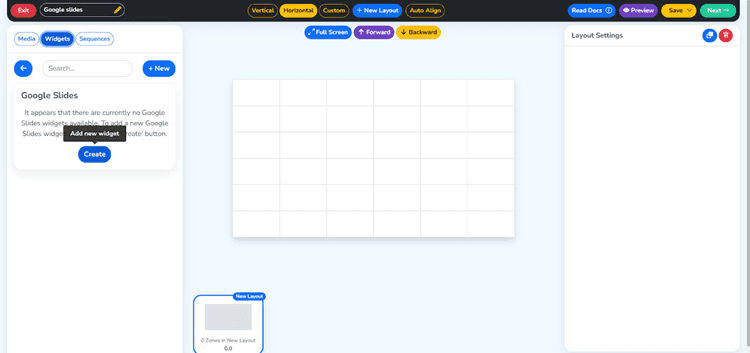
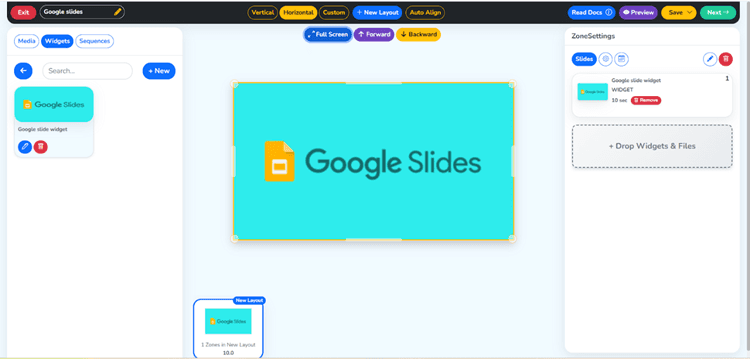
Step 7: Click On the Google Slides Widget
In your widget library, locate and select the Google Slides Widget. This is a unique module that allows you to display your Google Slides widget. The way it works is that it connects to your published Google Slides URL and displays it directly to the screen, allowing you to show a continuous loop of Google Slides with automatic page advancement for hands-free use without the need to supervise the playback on all screens connected to Google Slides.
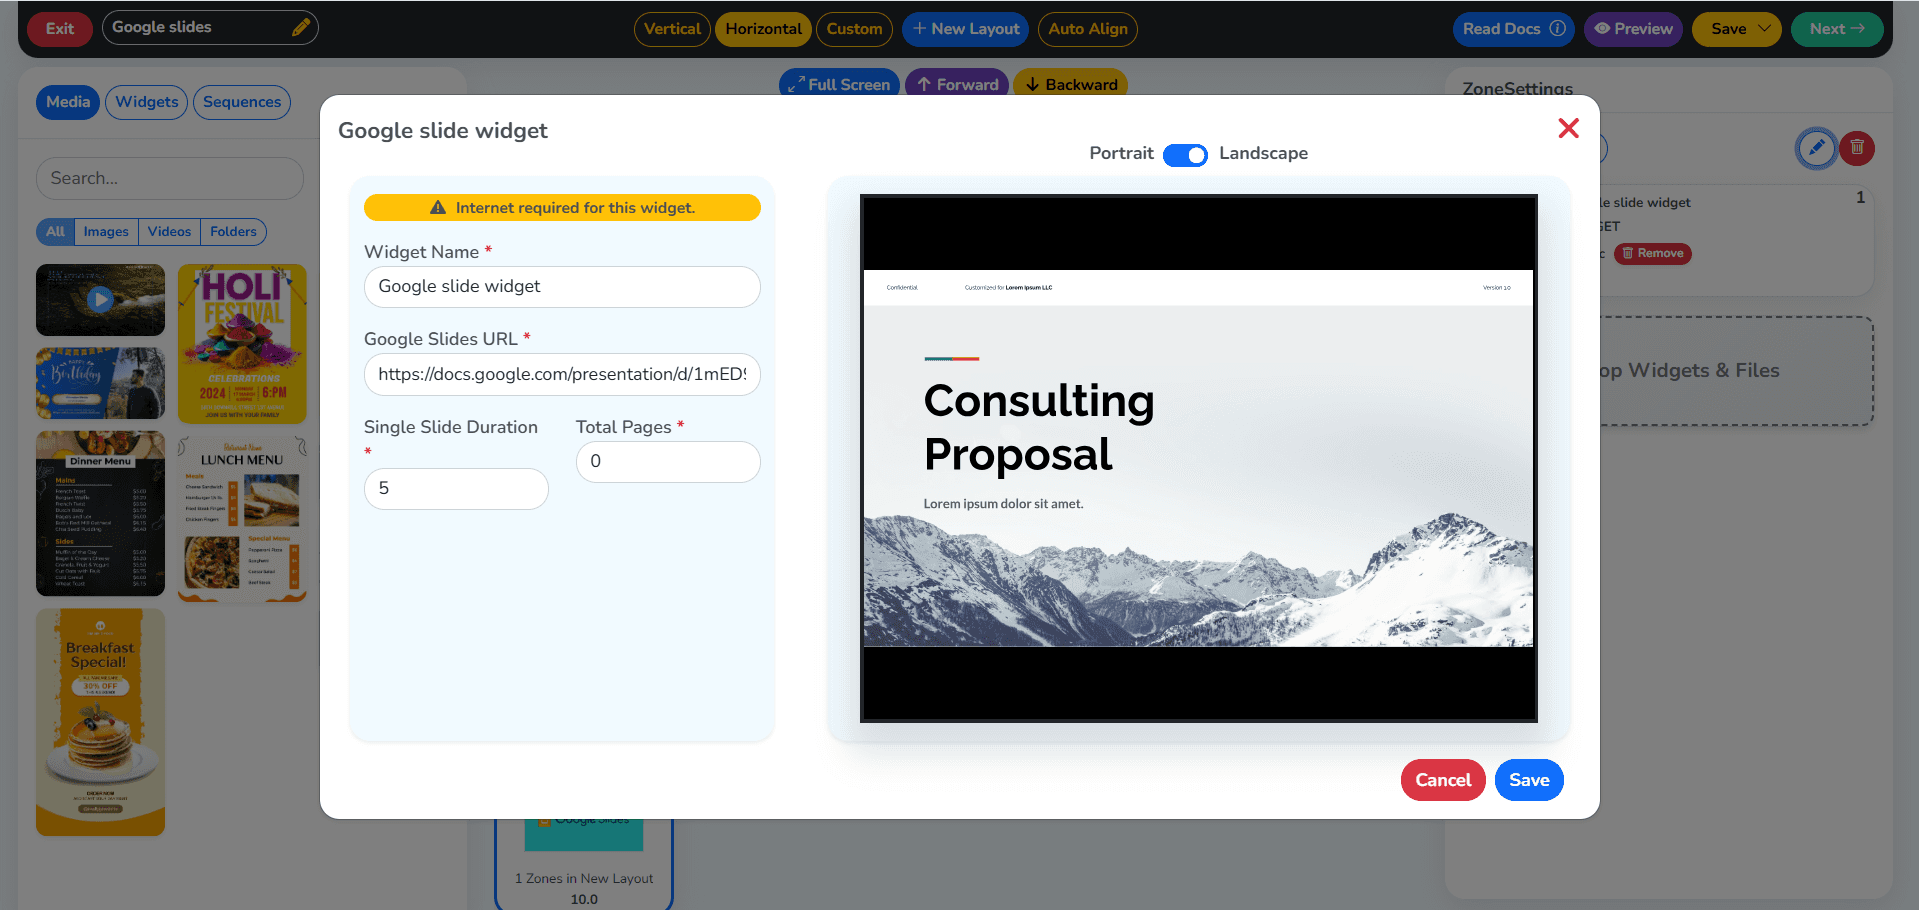
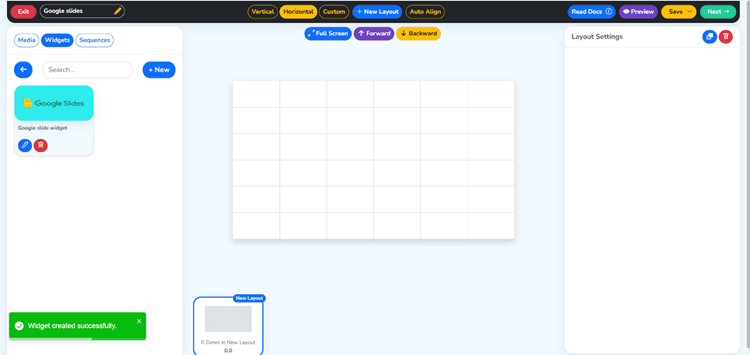
Step 8: Create Your New Widget
Select Create a new instance of the Google Slides widget. You will be prompted with a configuration window where you can give this new widget an identifier (name) and the URL of your Google Slides presentation. By creating a specific instance of your Google Slides widget, you can then use it in multiple playlists or on different screens without having to set it up again, streamlining your Google Slides embedded signage CMS process.
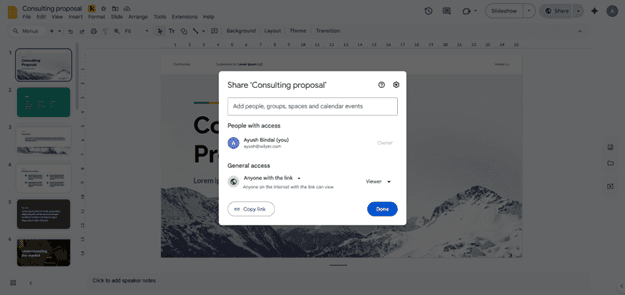
Step 9: Fill in Widget Name and Google Slides URL
Enter a descriptive name for your widget - such as “Lobby Slides Widget” - so it's easy to identify later. Then paste your Google Slides published URL into the designated URL field. To get the correct URL, open your presentation in Google Slides, click the Share button (top right), set General Access to “Anyone with the link,” copy the link, and paste it into the widget URL field. Once done, click the Save button to store the widget configuration.
Step 10: Your Widget has been Created Successfully
You will be presented with a message confirming the successful creation of your widget in your widget library. Your widget can now be added to any playlist in your content management system. You have completed the widget setup process and successfully connected your Google Slides presentation to the signage system. Now, proceed to add your new presentation to your playlists for display on the screen you selected.
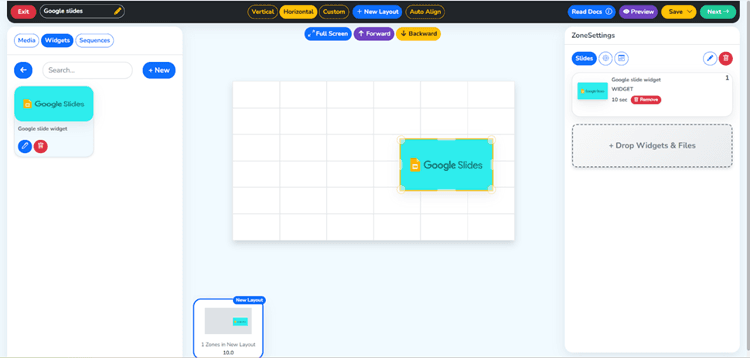
Step 11: Drag and drop the Google Slides widget into the Playlist
Return to your playlist editor and drag the Google Slides widget you have just created from your widget library into the content area of your playlist. You can set how long you want the slides to display before the playlist moves to the next piece of content, and you can also record the slides among the other items already present in your playlist. This will officially add your Google Slides auto-play lobby screen content into your live signage schedule so it can be published.
Step 12: Click on the Full Screen and the Green Next button
In these settings for the playlist item, you will see a full-screen toggle. Make sure this is turned on, as this will ensure that the entire display area is being used for your Google Slides presentation without any borders. Toolbars, using full-screen modes, provide a professional, distraction-free viewing experience and are well-suited for public display use. After you configure your display settings as desired, click the green Next button to continue to the screen assignment and publication of the process.
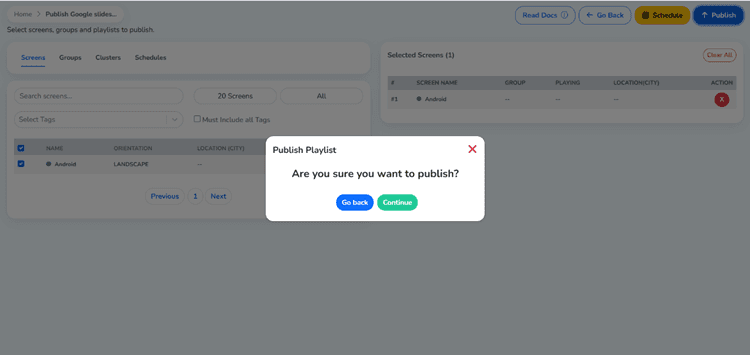
Step 13: Target Your Screen and Click on the Publish Button
After selecting your screens in the Select Various screens area of the Assignment panel, you must click Publish to get your Google Slides presentation delivered to the target screen. Many CMS systems provide the ability to filter by location group or screen name in order to find the correct screen quickly. After you have confirmed you are on the correct screen, click publish to start the content delivery process to the target display devices.

Step 14: Click on the Green Continue Button to Complete
After clicking publish, a publish confirmation dialog box will appear. The dialog box will show you the screens, playlist, and publish time for this publishing attempt. Review all of this information to ensure it is correct. Then click the Green Continue button to finish publishing. By clicking the green continue button, you will have initiated the content delivery process to your screens, and your Google slides will be viewed at the requested time.
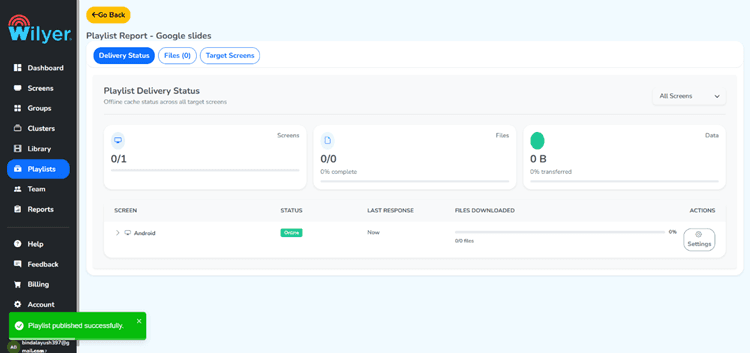
Step 15: Your Playlist Has Been Published Successfully
The success notification has been confirmed for your playlist as published and live with your choice of digital signage displays. The looping of your Google Slides will now automatically begin playing and will run through your slides continuously. This confirmation screen lets you know that your system is functioning properly and your Google Presentation TV screen is ON and displaying material to your target audience.
Final Step: Google Slides Live On your Screen
At this point, your Google Slides have been successfully set up and are now auto-playing on your Digital Signage Display. Your slides will continue to advance through the slides and return to the first slide again, continuously, without any human intervention. This makes Google Slides great for use in lobby displays, event displays, retail signage, and as announcement signage. Your Google Slides Digital Signage will be working correctly, and your setup is complete and operating as it should.
Conclusion
Using a CMS (Content Management System) will make creating your own Google Slides Digital Signage easy and quick. Follow our step-by-step guide, create a playlist of slides, create a Google Slides embed digital signage CMS Widget, and go live on your display within minutes. Keep your slides updated and let your screens do the communicating for you.

Compatibilidad Multi-Plataforma para Cada Pantalla de Señalización Digital
Ejecute el software de señalización digital de Wilyer en su sistema operativo preferido sin complicaciones.
