


Custom Text Widget
How to Add and Style Custom Text on Digital Signage Screens
Create and design text content to match your brand and messaging.
Introduction
One of the best methods of communicating with your audience, be it in a retail store, corporate lobby, school, or any other place, is using digital signage. Being able to add and style your own text and place it right onto your screens is one of the most essential features of any digital signage content management system (CMS).
In this guide, we will talk through the entire process of developing a playlist, the addition of a text widget, personalization of the appearance (font, color, size, alignment, and background), and posting it to your intended screen through your digital signage CMS dashboard.
Whether you want to display announcements, promotional messages, event details, or motivational quotes, this tutorial will show you exactly how to set it up in just a few simple steps.
Why Custom text Matters on Digital Signage
Digital signage screens provide businesses and organizations with custom text to:
Show real-time announcements and notifications.
Reinforce brand identity using branded fonts and colors.
Engage customers and visitors with interactive content.
Individualize text formatting signage screen to make it more readable.
Set the content to be visible at a certain time without having to be set manually.
Step by Step Guide: According Custom Text to Your Signage screen
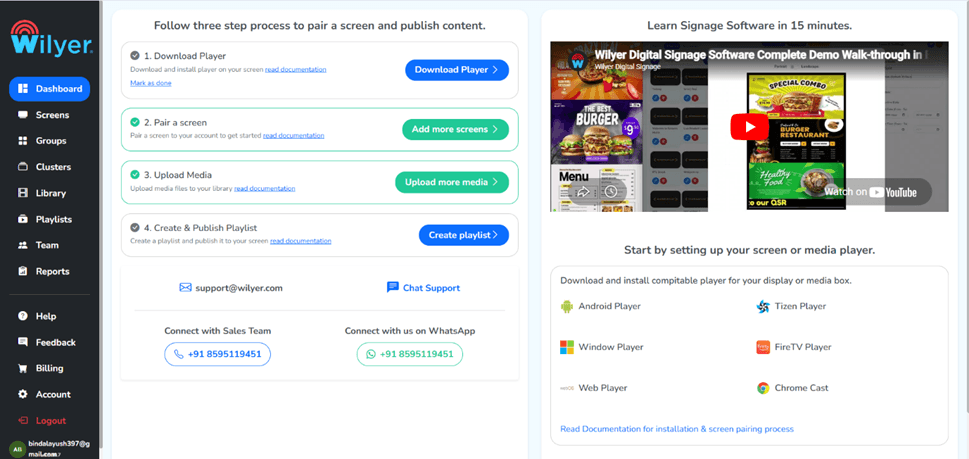
Step 1: Go to the Dashboard Section
Go to your Digital signage CMS and to the main Dashboard. The dashboard provides you with a preview of the active playlists, screens, and widgets. And this is your main control panel where you handle all signage content.
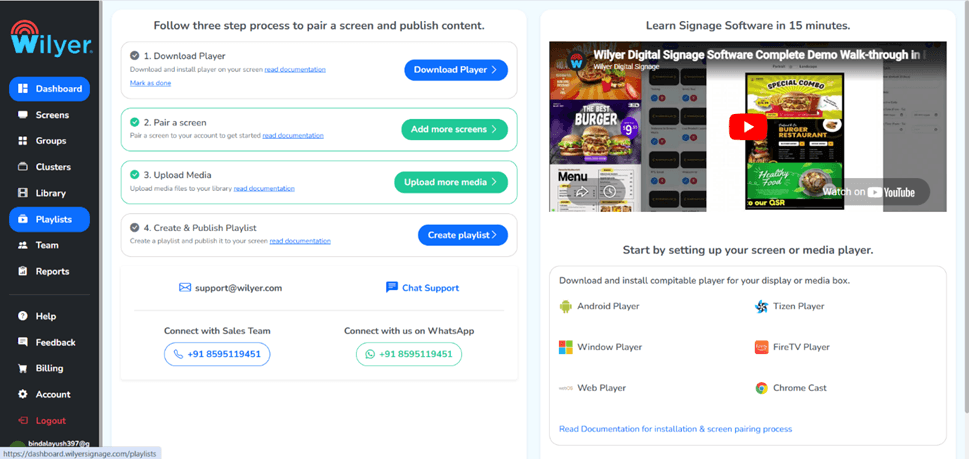
Step 2: Navigate to the Playlist Section
Under the left-hand navigation menu, on the dashboard, hit the Playlist. Playlists are lists of media and widgets that play on your screens in a specific order. The playlist is a fundamental aspect of the process of managing the digital signage.
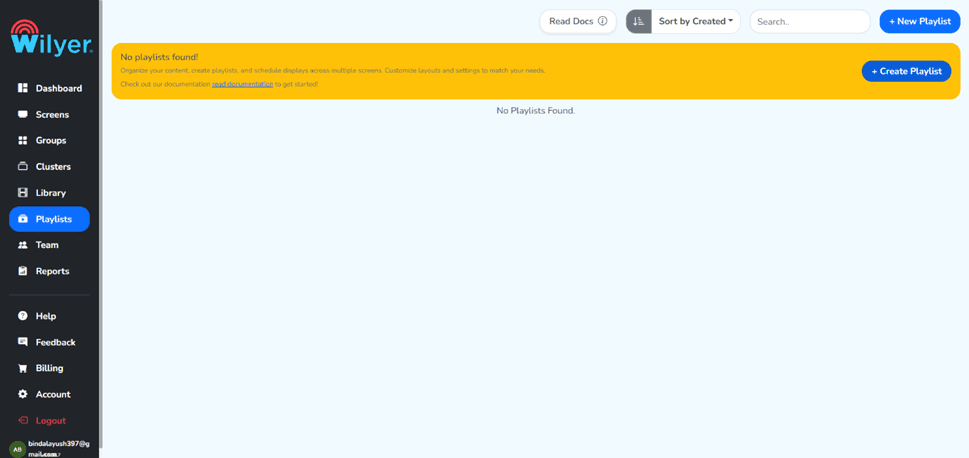
Step 3: Click on the + New Playlist Button
To create a new playlist, click the “+ New Playlist” button. This will open a creation panel in which you can make your playlist settings. Several types of content can be included within each playlist, i.e., widgets, images, and video content.
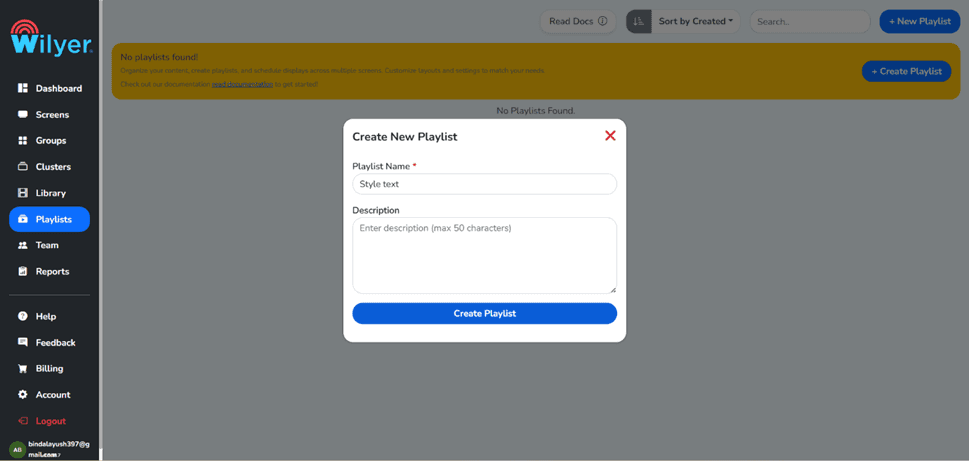
Step 4: Fill in your credentials and create the Playlist
Add the necessary information about your playlist, including the name of your playlists, the description, and other settings, that your CMS require, After completing the credentials, the next step is use to the “Create Playlist Button”
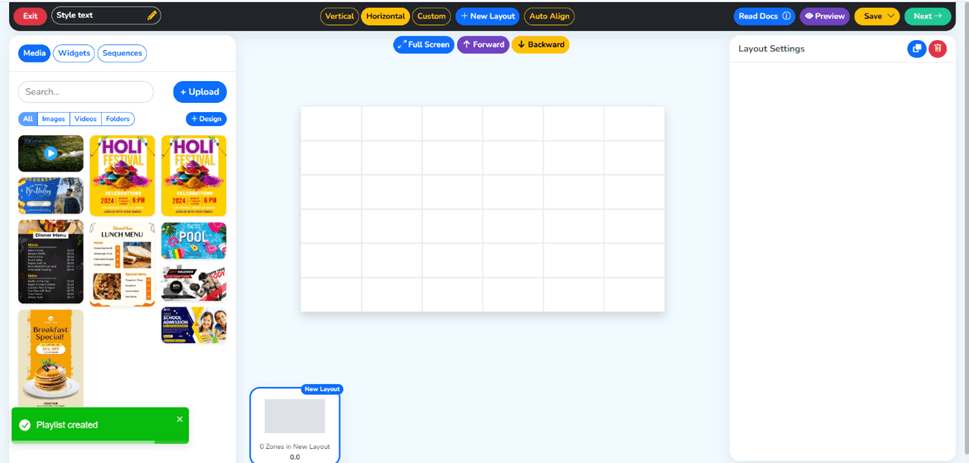
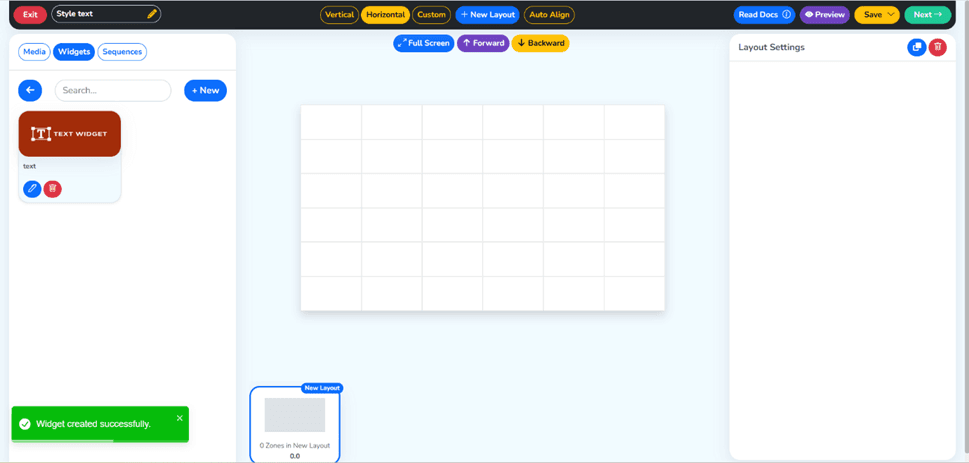
Step 5: Your Playlist is created Successfully
You will be informed with a confirmation message showing that your playlist has been created successfully. That is now on your playlist library list. Your playlist has been prepared to accept widgets and content.
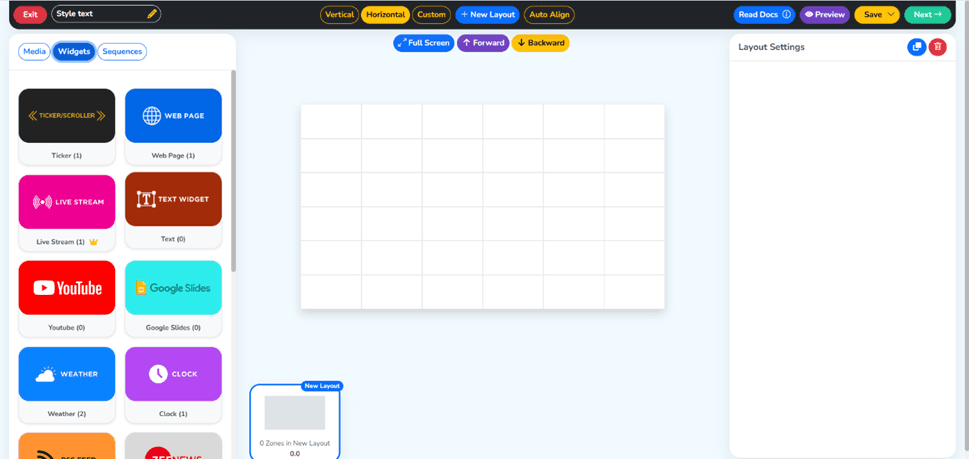
Step 6: Click on the “Widget” Section
Navigate to the Widget section from the main menu. Widgets are individual content blocks that you can add to your playlists - including text widgets, image widgets, video widgets, social media feeds, weather display, and more.
Step 7: Click on the Text Widget
In the widget library, find and press the option for the Text Widget. The text widget is created with the express purpose of showing custom text contents on your screen and complete control over formatting and styling.
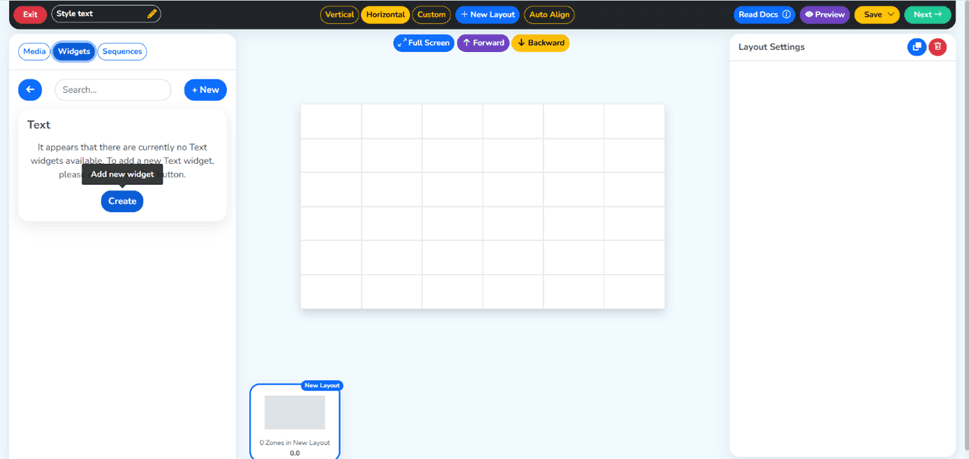
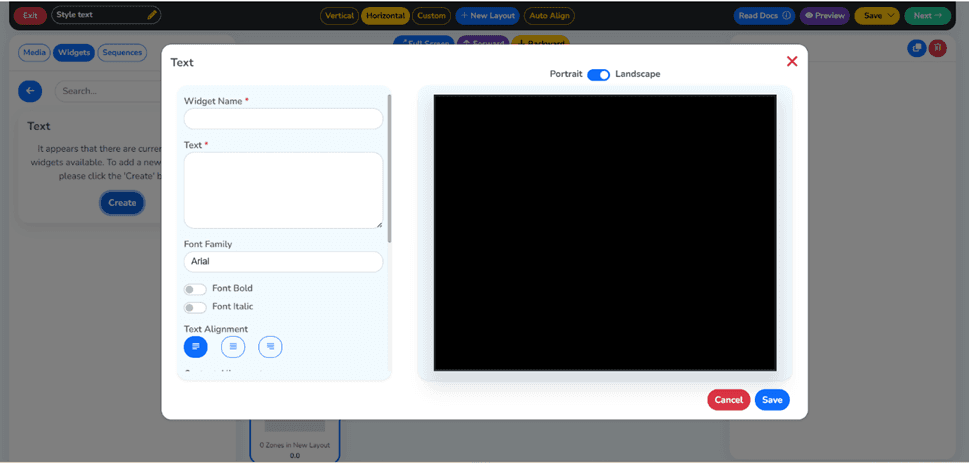
Step 8: Create Your New Widget
To start configuring your new text widget and to add it, click on the Add New Widget button. A configuration panel will appear in which you will be able to enter your widget’s information and content.
Step 9: Fill in Your Credentials
Start typing in the required fields of the widget. This usually involves assigning your widget a name that will be used to identify it internally. The naming convention will be clear to assist you in managing your widget effectively, in case you have many of them.
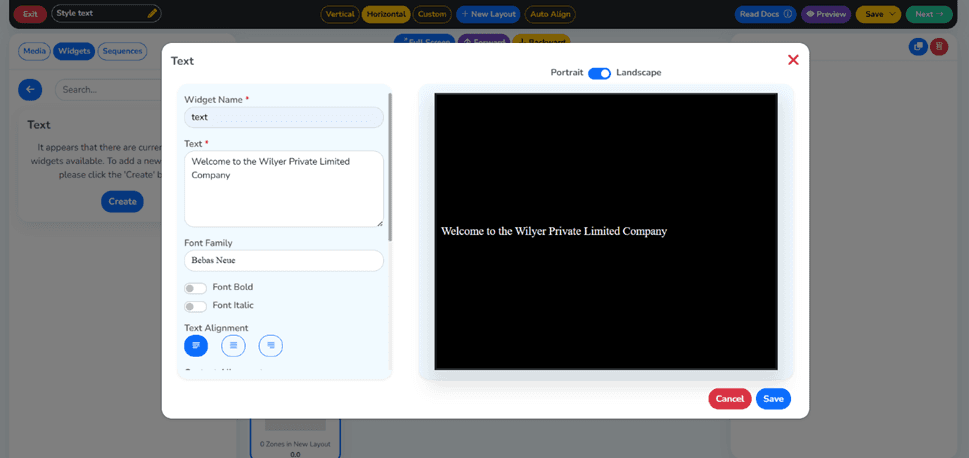
Step 10: Fill in the Widget Name and Text Content
Name a descriptive widget and then fill in the actual text that you would wish to see on your screen. This might be an announcement text screen display, a promotion message, a welcome note, business hours, or any other personalized message to your audience.
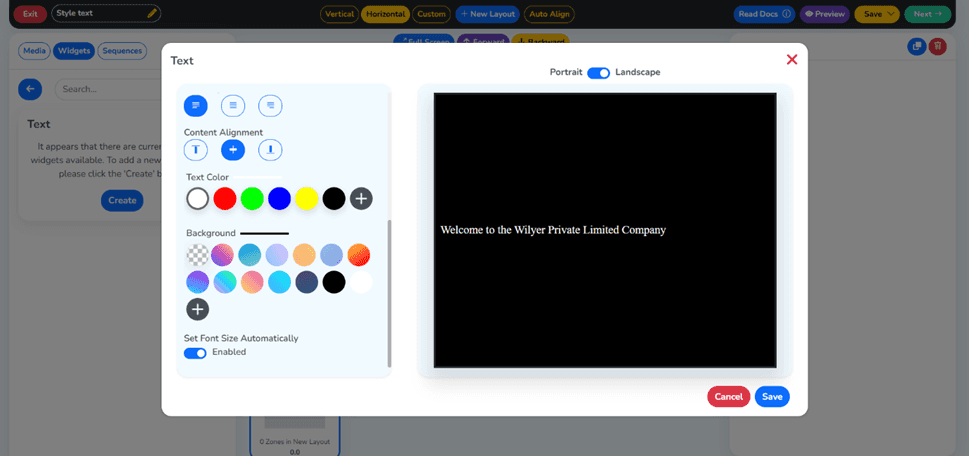
Step 11: Choose Content Alignment, Text Color, and Background
Now it’s time to style your text. Use the available options to:
Content Alignment: Choose left, center, or right alignment to match your design.
Text Colour: Pick a color from the color palette that complements your brand or background.
Background: Select a background color or leave it transparent for a seamless look.
Font size: The font size settings will be automatically enabled and ready to customize.
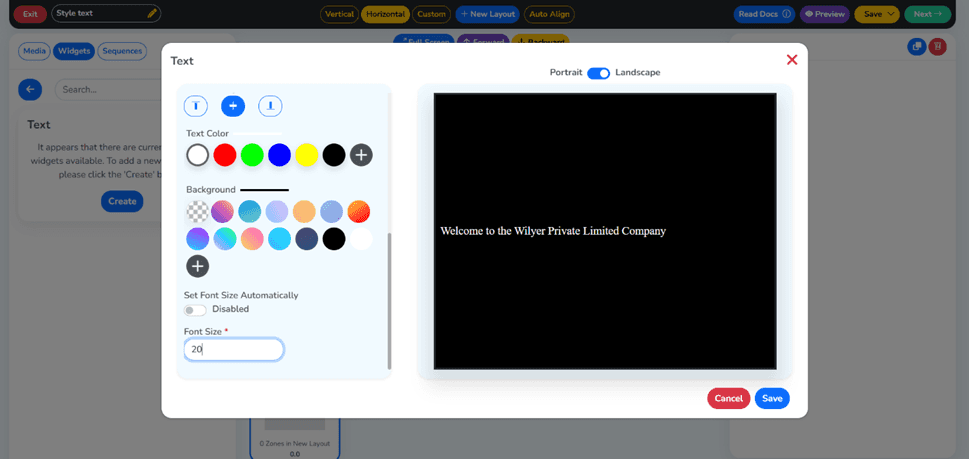
Step 12: Set the Font Size and Click Save
Change the text size to make sure that your text is readable and the picture is not too small. Take into account the distance at which it will be viewed; a small text on a screen might be the right size on a large one. After being content with all the settings, use the Save button.
Step 13: Your Text Widget Has been Created Successfully
A success notification will confirm that your text widget has been created and saved. It will now appear in your widget library and is ready to be added to your playlists.
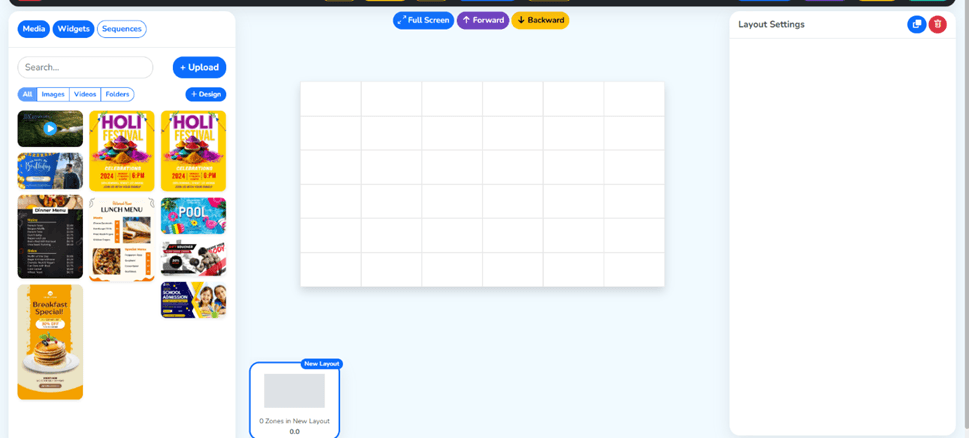
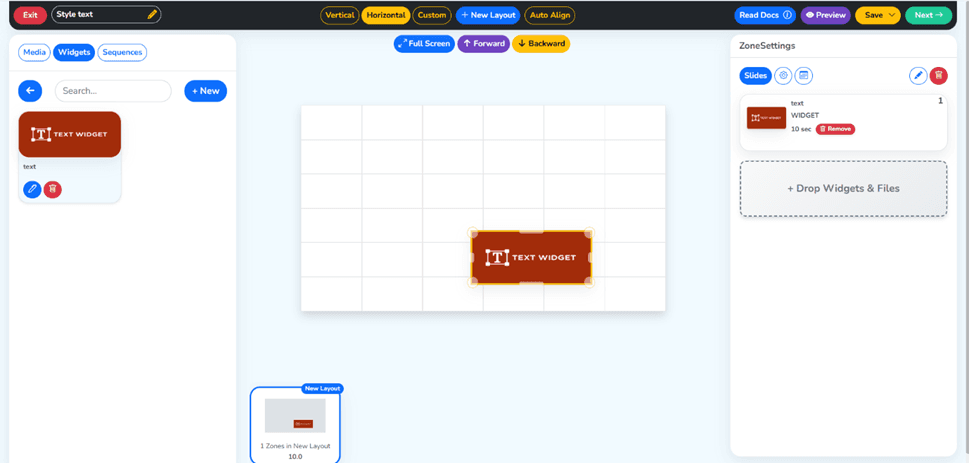
Step 14: Drag and Drop the Widget Into Your Playlist
Go back to your playlist editor, and drop the text widget that you have created into the playlist time or contents window. This drag-and-drop interface allows you to design your content on the playback sequence that you want.
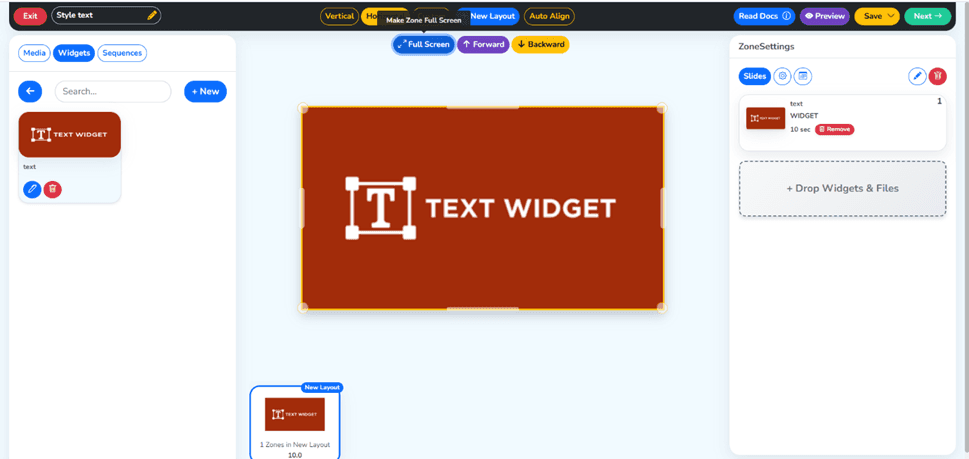
Step 15: Click on Full Size
Once you have added the widget to your playlist, you can then select the Full size option so that the text widget is displayed as a full-size widget. This is particularly relevant in the text-only slides in which the text message assumes the center stage.

Step 16: Click the Next Button (Green Button, Top Right)
After you have organized what you want in your playlist and set up your widgets, the green Next button that appears on the upper right of the interface will have to be clicked. This will take you to the screen targeting and publishing stage.
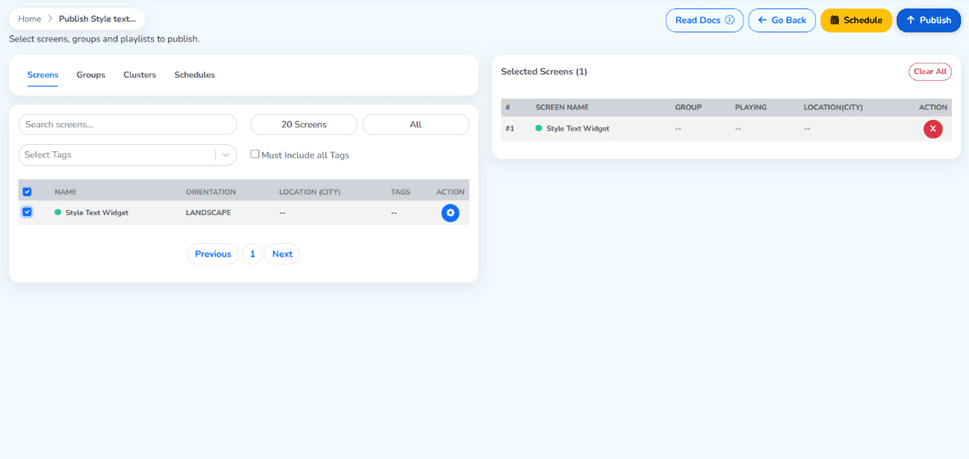
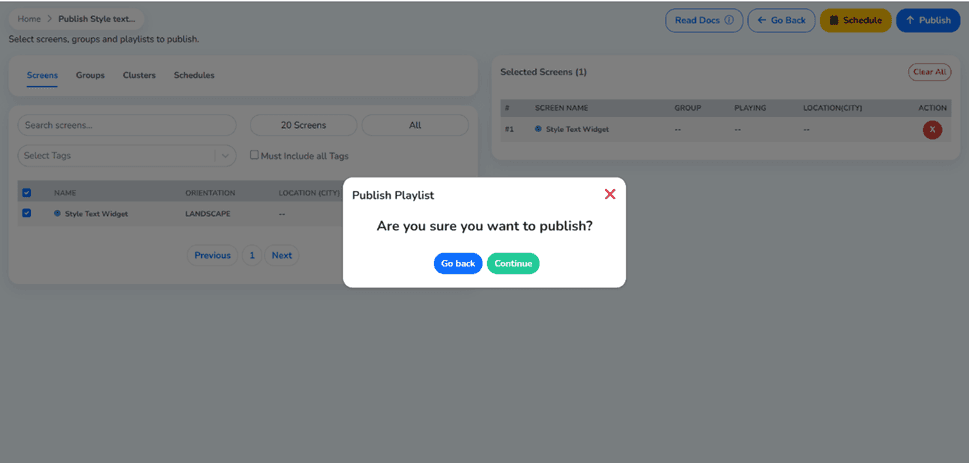
Step 17: Target your screen and click the Publish Button
Choose the target screen or screen group that you would like your playlists to appear in. You can attack a single screen or several screens at the same time. After choosing your targets, there is one Publish button that you are supposed to use to go live with your content.
Step 18: Click on the Green Continue Button
A confirmation box will come out. One last time, check your publishing settings and then press the green Continue button to publish.
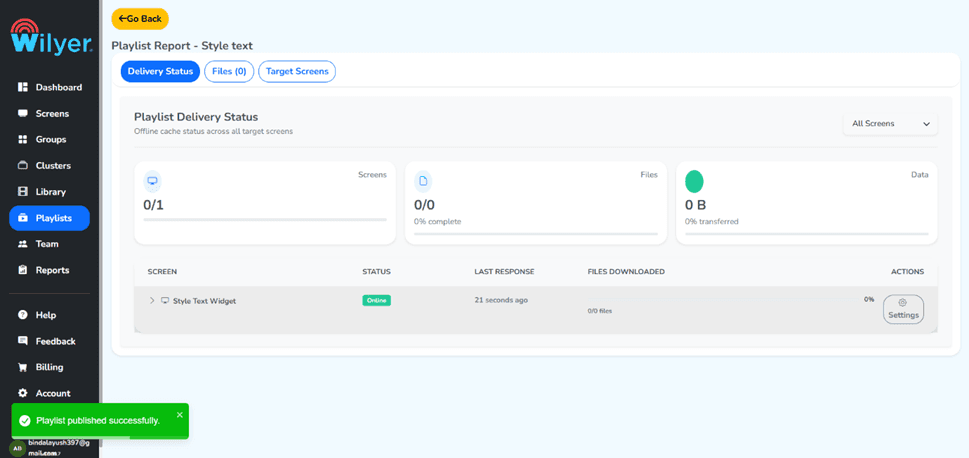
Step 19: Your Playlist Has been Published Successfully
Congratulations on the success page. You will see a successful message that confirms that your playlist has been published to the screen that you have specified. Your personal text widget is up and running on your digital signage screen.
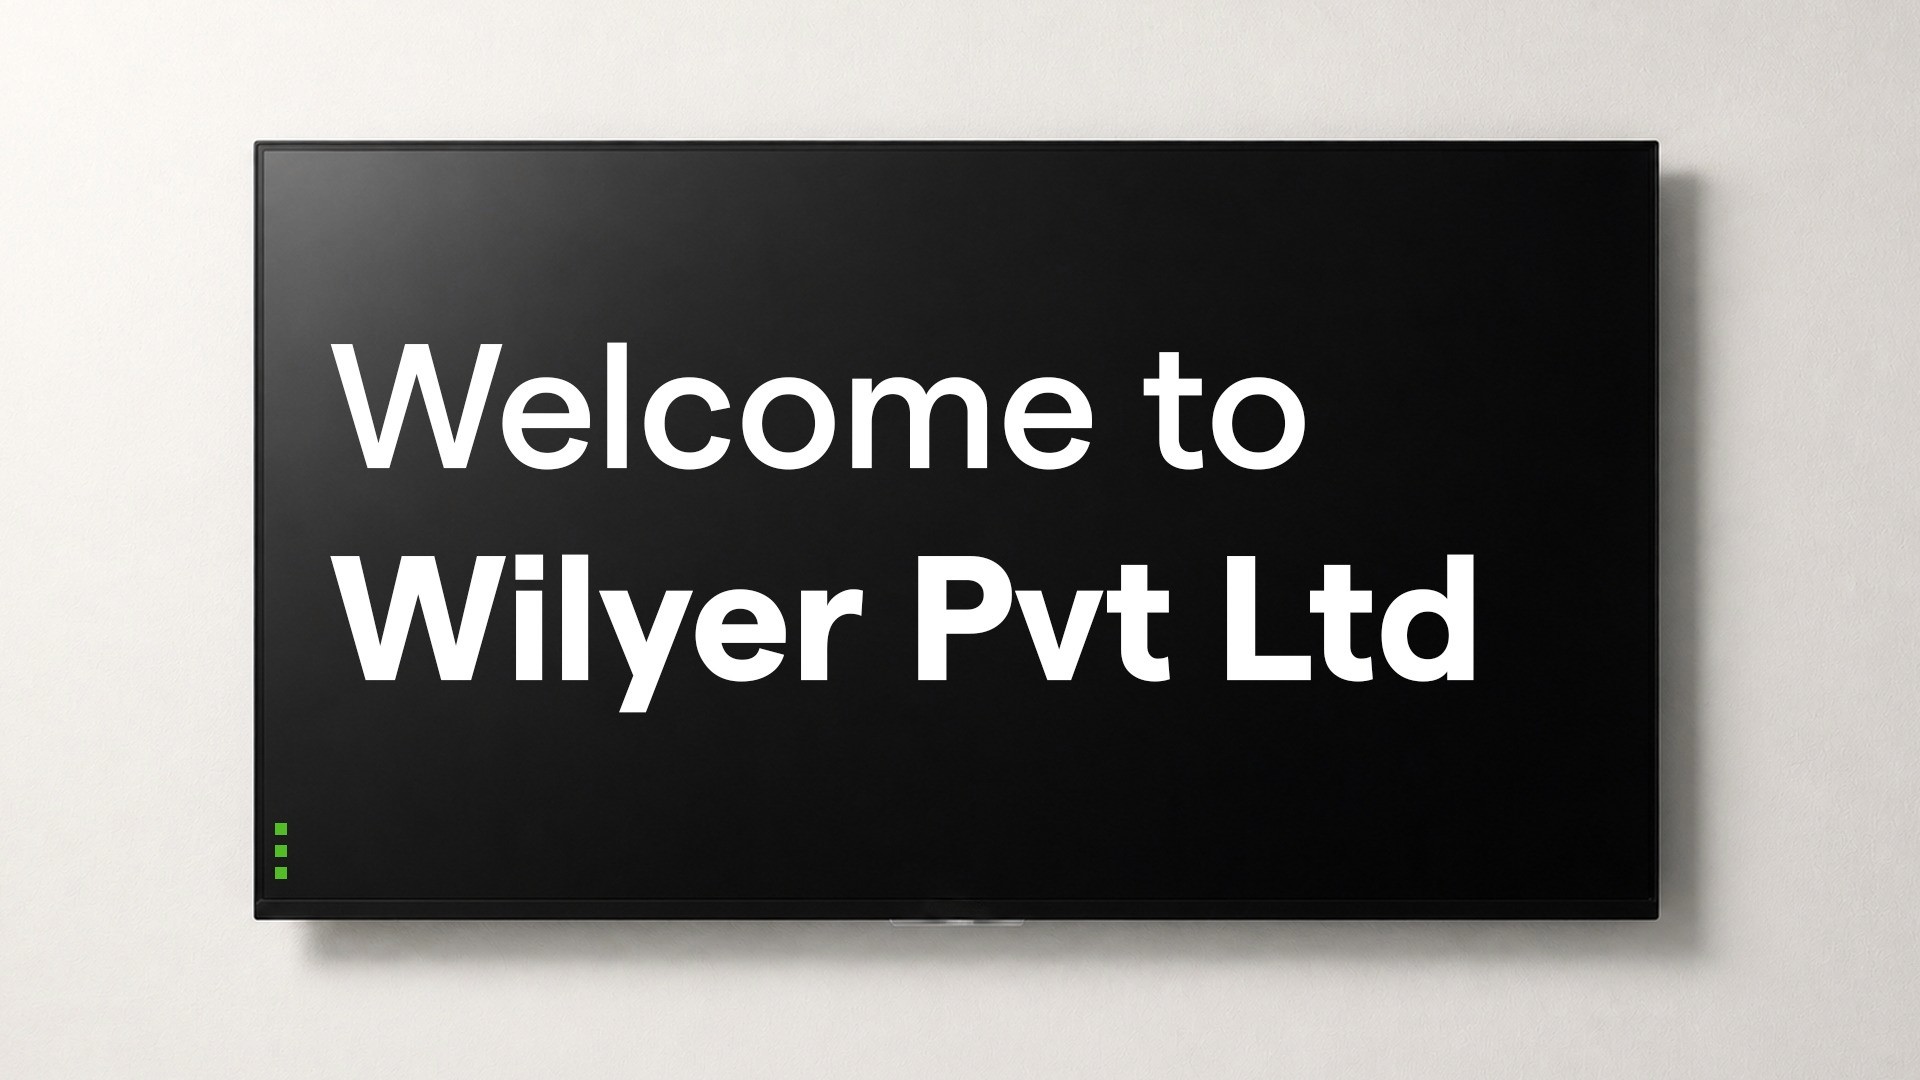
Final Step: Text Live on Your screen
This is the last stage; your personal text is now active and is presently visible on your digital signage screen. The text widget shows exactly the message you created, styled with your chosen font size, color, alignment, and background settings.
Conclusion
Custom text display setup, addition, and styling is a simple process that can have a great impact on your audience due to the nature of the addition and styling of the text in your digital signage screens. With the help of this guide, you can get your custom message on-screen and fully styled, in its own text widget, within the space of minutes.
Want to know how to create text in a widget and format it, regardless of whether you have one screen in a small-scale business or dozens of calls spread among? This is one of the most useful skills in the digital signage management area.
Start experimenting with different text styles, colors, and messages to discover what resonates best with your audience - and take full advantage of your digital signage platform’s text customization capabilities.

Multi-Platform Compatibility for Every Digital Signage Display
Run Wilyer’s digital signage software on your preferred operating system with zero hassle.
