YouTube Widget
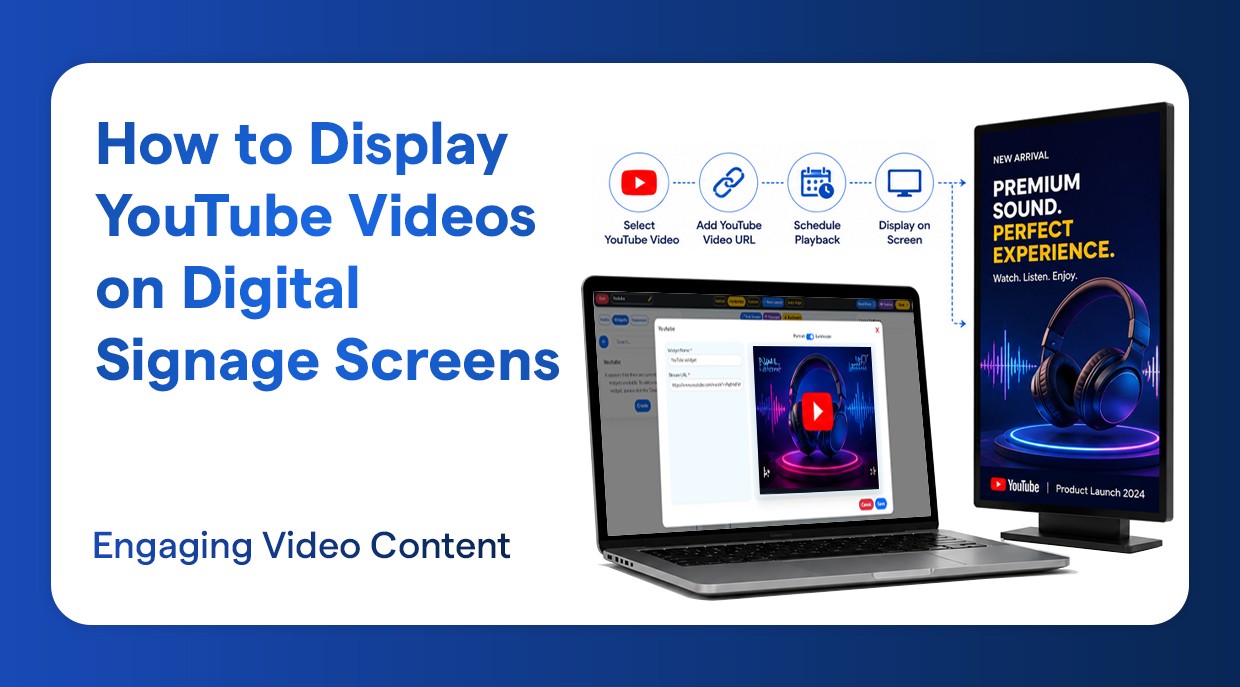
How to Display YouTube Videos on Digital Signage Screens
Play YouTube videos seamlessly to enhance visual engagement.
Introduction
Digital Signage has transformed the way businesses communicate with their audiences. Whether you’re running a retail store, a corporate office, a restaurant, or a hotel, displaying video content on your screens keeps visitors engaged and informed. As the largest video platform in the world, YouTube is the world’s largest video platform in the form of promotional videos and tutorials, live streams, and product showcases.
This tutorial will explain step-by-step how to add YouTube videos to your digital signage screens with the help of a modern signage CMS (Content Management System) to do so. At the conclusion of this tutorial, you will be in a position to know how to make playlists, how to create YouTube Widgets, and how you can post content to your screens without any knowledge of technology.
What is the Purpose of using YouTube videos on a Digital Signage?
We will get into the details of the steps, but before we do this, it is useful to briefly discuss why the integration of YouTube with digital signage is such a dynamic strategy.
Use dynamic video content to engage your audience as opposed to images.
Use the huge YouTube library to discover the content applicable to your company.
Loop YouTube playlists continuously for an uninterrupted display.
Showcase product demos, tutorials, brand videos, and so on.
Save time by embedding YouTube streams directly - no need to download and re-upload videos.
Unsupported YouTube Links in Digital Signage
While integrating video content using YouTube within your digital signage setup, it is important to note that not all YouTube links may be supported by the signage CMS or player.
For example, standard watch-page URLs such as:
https://www.youtube.com/watch?v=-8K3J-tPDL4
Now, let’s get started with the setup.
Step-by-Step: How to Display YouTube Videos on Your Signage Screen
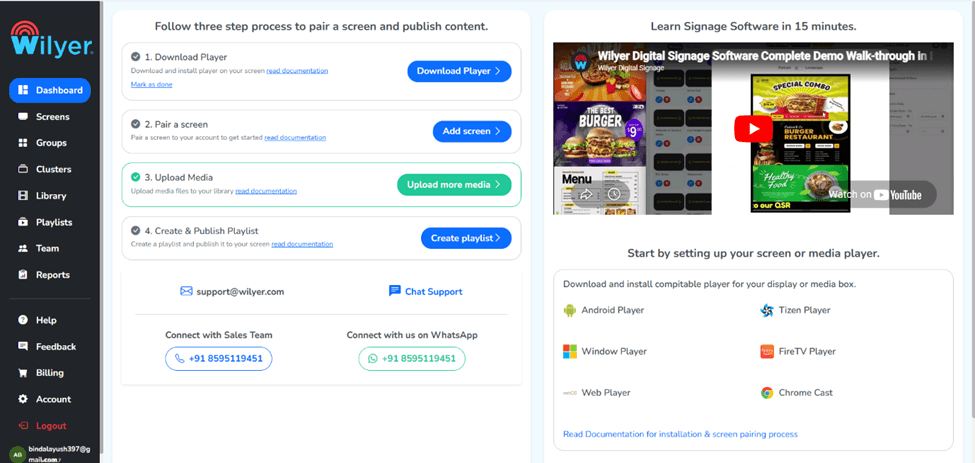
Step 1: Go to the Dashboard Section
Start by logging into your digital signage CMS. After you log in, the first thing you see is the Dashboard. It is your main center where you can control all your screens, playlists, and widgets. Take some time to get familiar with the navigation panel on the left side - it is your primary tool for moving between sections.
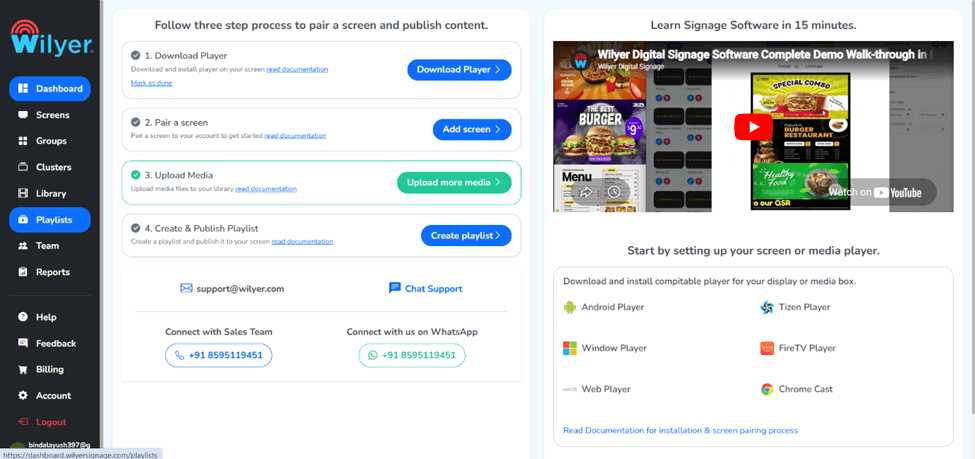
Step 2: Navigate to the Playlist Section
On the Dashboard, find and select the Playlist on the left-hand side of the navigation menu and press it. The playlists are the main support of your signage content - that is, the ability to schedule and arrange various pieces of the content in a particular sequence and time. Here, all your video sequences with YouTube will be stored and then pushed to your screens.
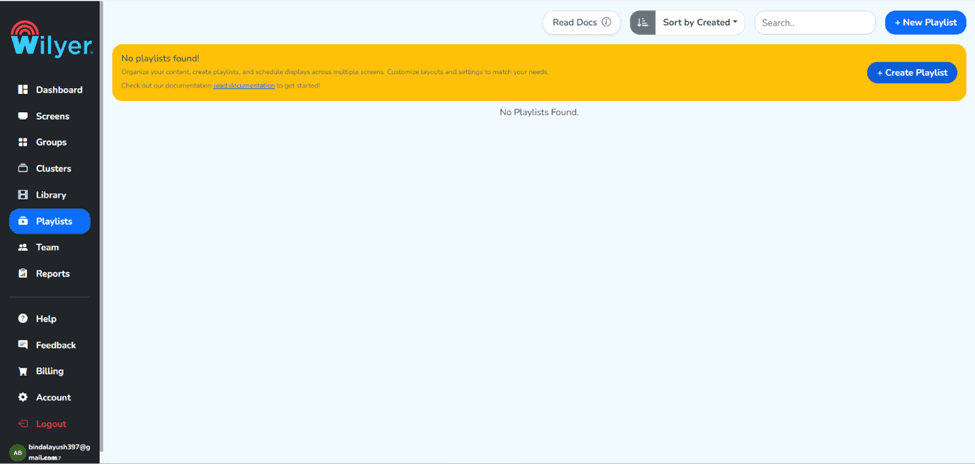
Step 3: Select the Create Playlist Button
On the Playlist section, there is a Create Playlist button that can be found at the top-right corner of the page. To start adding a new playlist, click on it. Developing a specific playlist of your YouTube content will allow you to keep it in order, particularly in case you work with a variety of screens or types of content.
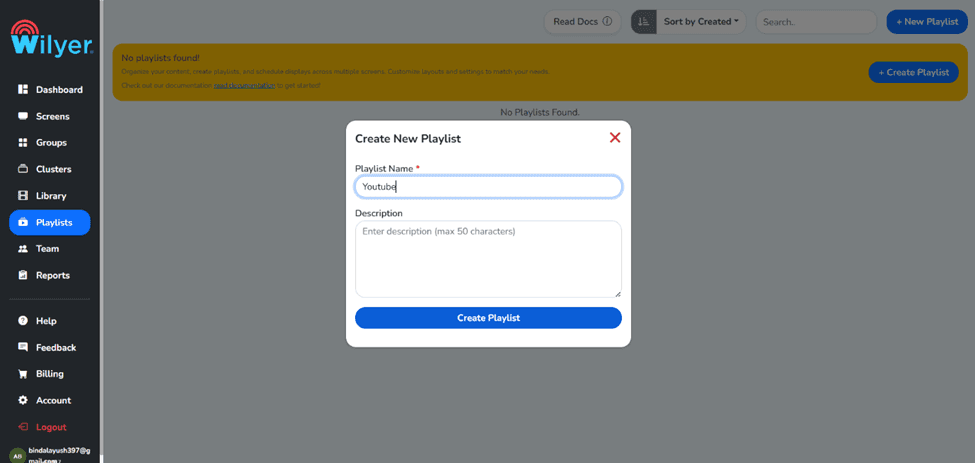
Step 4: Fill in Your Credentials and Create the Playlist
A form or a dialog box will appear that will request you to fill in your playlist information. Enter the necessary settings, like the Playlist Name and any other relevant settings, like resolution or display orientation. After inputting all the required data, you want to create a playlist; press the Create Playlist button to save your own playlist. Your YouTube widget will be inserted in this playlist.
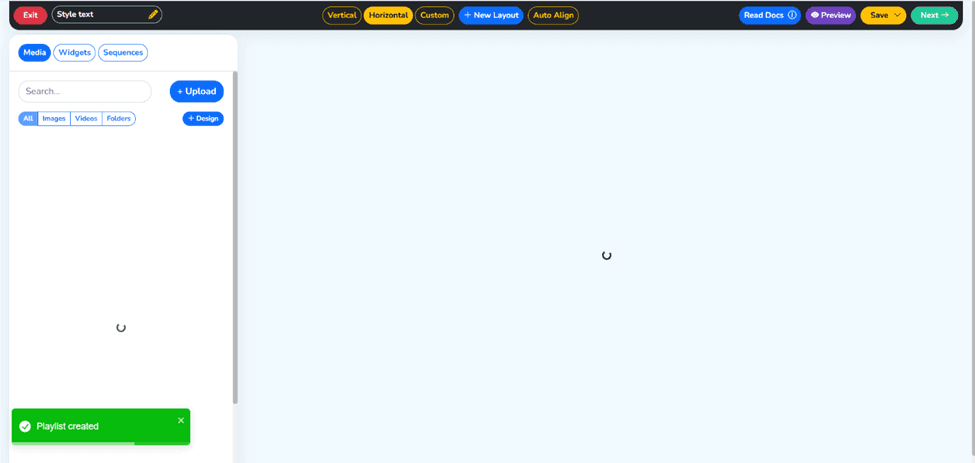
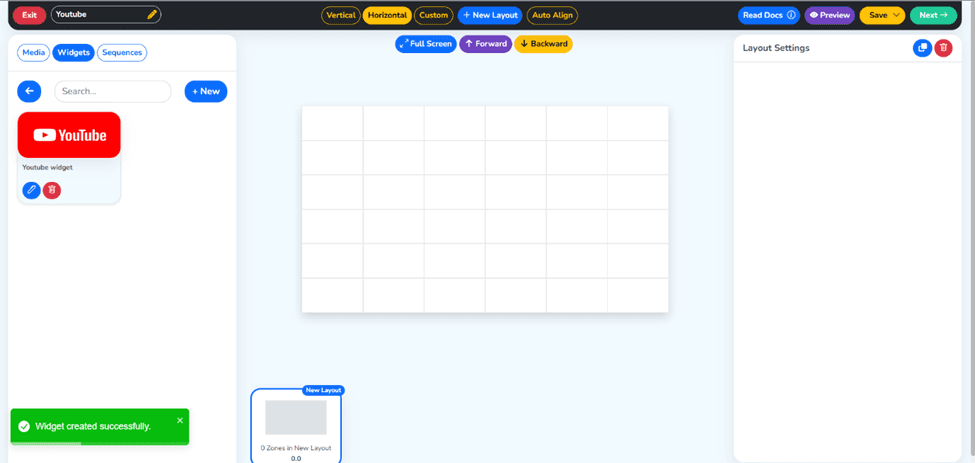
Step 5: You have created your Playlist.
Congratulations! Your new playlist is complete. It will be there in your Playlist. At this stage, the playlist is blank. We will add the video widget of your YouTube video in the following steps. Imagine you are painting a blank canvas, which will soon be filled with your YouTube content.
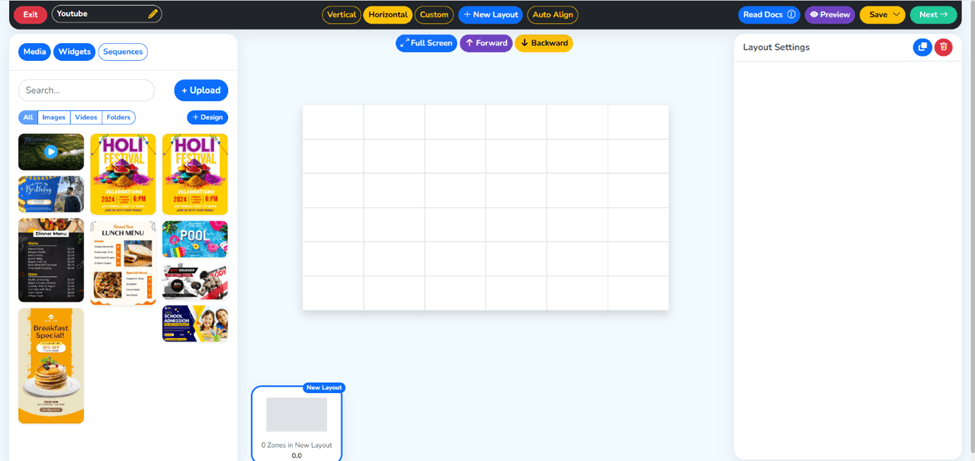
Step 6: Go to the Widget Section
At this point, go to the Widgets tab on the left-hand menu. Individual blocks of content that you can add to your playlists are the widget. The signage CMS typically offers a variety of widgets - clock, weather, RSS feed, and most notably, a YouTube or video stream widget. It is here that we will make your YouTube embed.
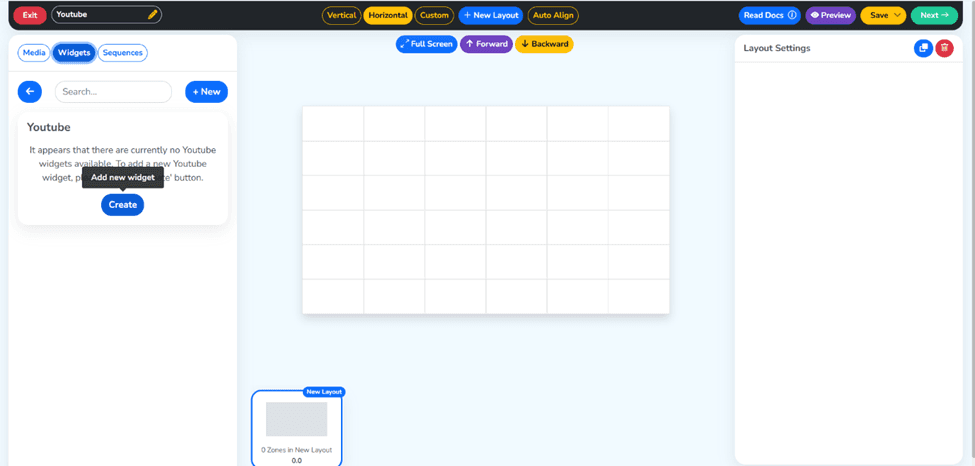
Step 7: Create Your New Widget
Under the widget section, there is an option of creating a new widget. A list of possible types of widgets will be offered. Find the YouTube widget, the video stream widget, or some other similar option based on your CMS. Click on its start adjusting your YouTube content block.
Step 8: Enter your Widget Name and Stream URL and click the blue Save Button
It is time to set your YouTube Widget. Type in a descriptive Widget Name (i.e., YouTube Product Promo) to enable easy recognition in the future. Enter the URL of the playlist or video on YouTube that you wish to show in the Stream URL field. When you have filled in all the information, save your widget settings to the blue button.
Link: https://www.youtube.com/watch?v=PqtMdFkMVXQ

Step 9: YouTube Widget Created Successfully
After saving, your YouTube widget setup signage will appear in the Widget library. This will confirm, or the widget will be in the widget panel. This widget is now all set to be included in your playlist and placed in your digital signage displays.
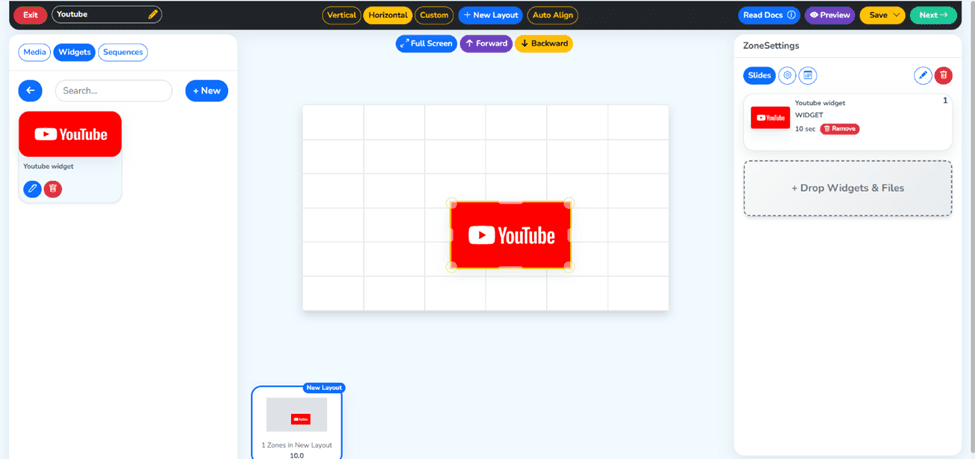
Step 10: Drag and Drop Widget into your Playlist
Go back to your playlist and access the playlist that you previously made. The next step is to locate your new YouTube widget and just drag and drop it onto your playlist timeline or content area. This is what will put the YouTube video content in your playlist so that it is available to be scheduled and published.
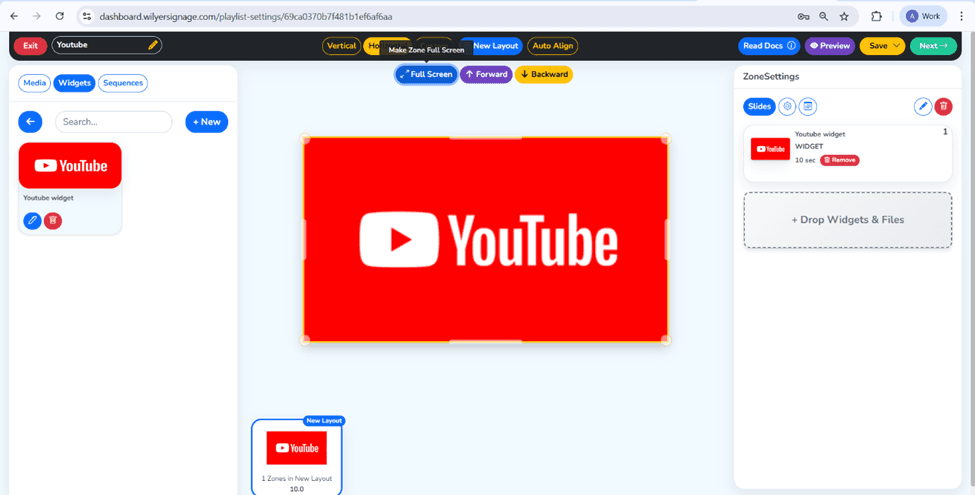
Step 11: Click on the Full Screen Button and Click Next
Once you have added the widget to your playlist, you will have to set the way it should appear. Search Full Screen or display settings. Full Screen will make sure your YouTube video occupies the full screen to make the most visual impression. Once the display settings have been configured, the Next button should be clicked to move to the publishing stage.
Step 12: Target Your Screen and Click on the Publish Button
In this step, you’ll assign your playlist to a specific screen or group of screens. Select the target screen(s) from the available list - these are the physical digital signage displays you’ve connected to your CMS. Once you’ve selected the right screen (s), click the Publish button located at the top-right side of the page to begin the publishing process.

Step 13: Click on the Continue Button
You will receive a confirmation dialog in which you will need to check your publishing settings. One more time, check the details screen assignment, playlist name, and whether it is scheduled or not. When you are ready, you can click the Continue button to finalize and push your content to the screen.

Step 14: Your Playlist has been Published Successfully
Excellent, you have a success message that your playlist has been published. Your video material on YouTube is now on your chosen digital signage screen (s). Depending on your CMS settings, the content will either begin playing on schedule or right away.
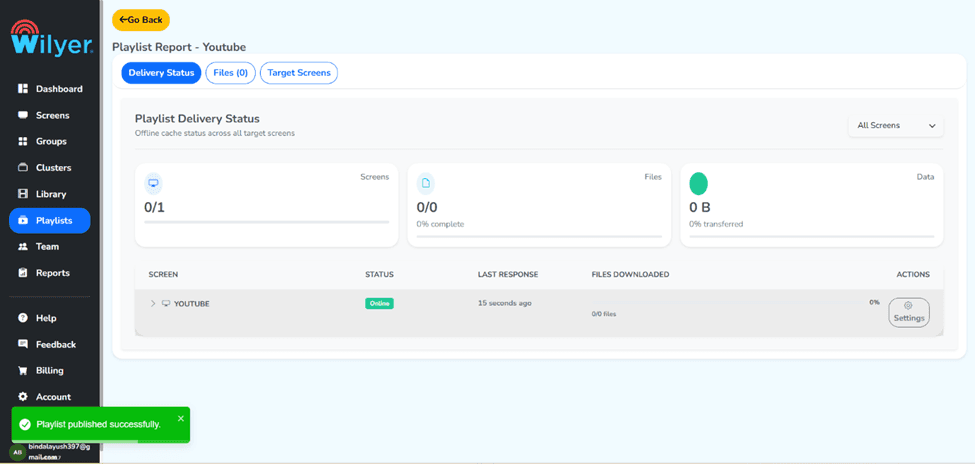
Final Step: Review Your Live Screen
The final step is to verify that everything is working correctly. Look into your physical digital signage screen and check whether the YouTube video is being played as intended. In case you have created a YouTube playlist URL, then the videos should automatically repeat, ensuring your signage content stays fresh and engaging 24/7.
Conclusion
The best way to interact with your audience in digital signage displays is by showing YouTube videos in motion, providing them with dynamic and professional content. With this step-by-step tutorial, which includes establishing a playlist, as well as a YouTube widget, to publishing and reviewing your live screen, you now have all that is required to have your YouTube digital signage up and running.
Whether you're setting up a YouTube video signage screen for a single location or an entire network of YouTube signage screens, this is easy and can be repeated. Begin by utilizing a YouTube video signage playlist and change the manner in which your audience will experience your brand.

Multi-Platform Compatibility for Every Digital Signage Display
Run Wilyer’s digital signage software on your preferred operating system with zero hassle.
