

Deploying an on-premise signage server is a straightforward process, but it requires careful setup and IT collaboration to ensure the system runs smoothly and securely. The main goal is to establish a local server that can host, manage, and distribute all signage content within your organization’s private network.
Deployment Process:
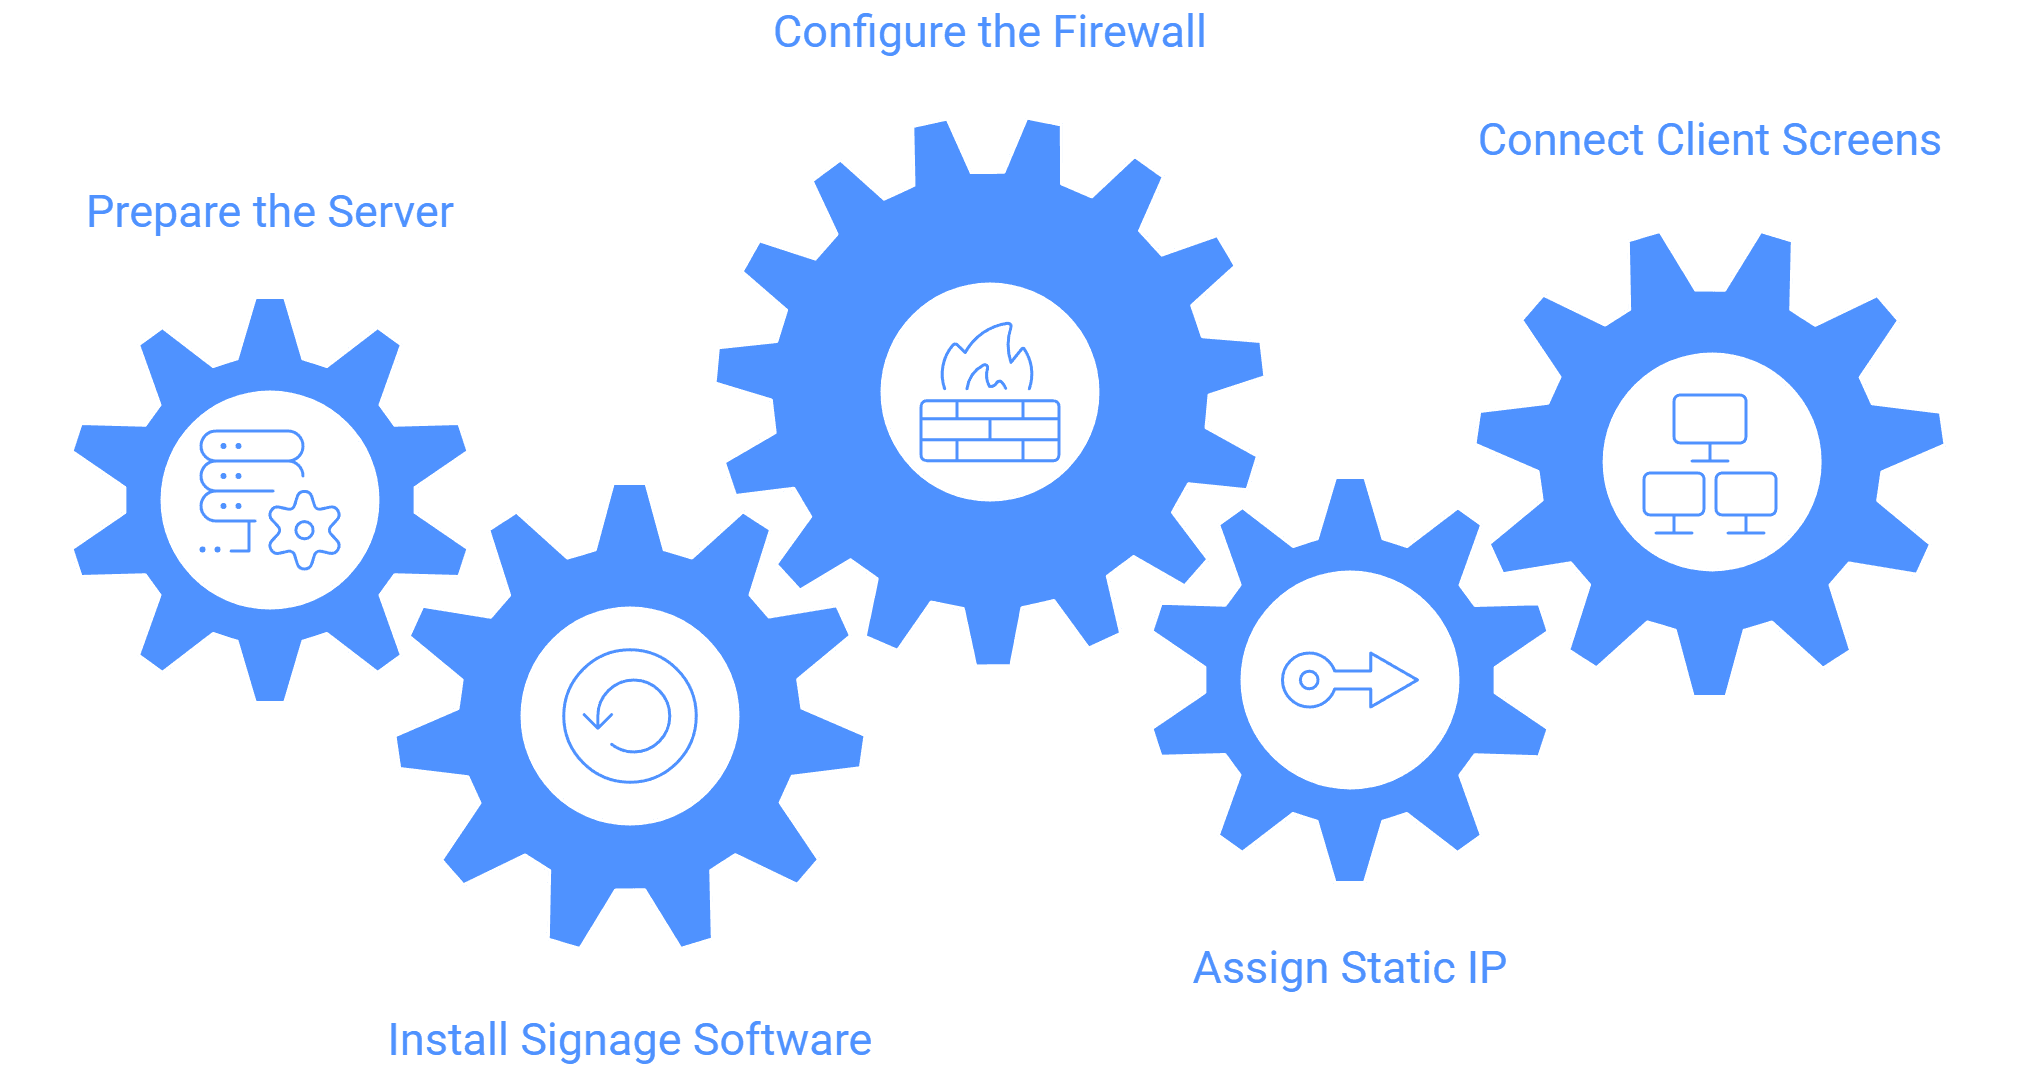
- Prepare the server: Choose a capable system, preferably a Windows or Linux server with an Intel i5 or higher processor and at least 512 GB of storage. This ensures smooth media playback and space for content storage.
- Install signage software: The signage vendor (for example, Wilyer Signage) installs essential components like the database, file storage, and server application on your device.
- Configure the firewall: Your IT team sets firewall permissions to allow local devices (screens or media players) to connect securely to the server.
- Assign a static IP: Allocate a static IP address to the server so every screen can consistently reach it without connection interruptions.
- Connect client screens: Install the signage client software on each display device and link it to the server’s IP address. Once connected, the screens begin syncing content and playback.
Maintenance:
To maintain performance, ensure that:
- The server remains powered on during operational hours.
- Regular backups of media files and configurations are taken.
- Firewall settings are reviewed periodically.
- The IT team monitors connectivity and reachability between the server and screens.
With proper setup and maintenance, an on-premise signage server can reliably manage large deployments across multiple screens while ensuring full control and security over all content.