Introduction
Whether you’re managing a corporate office with multiple time zones, a hotel lobby serving international visitors, an airport display board, or a retail store, adding the digital clock widget to your digital signage screen makes your display smarter, more professional, and immediately useful to your audience.
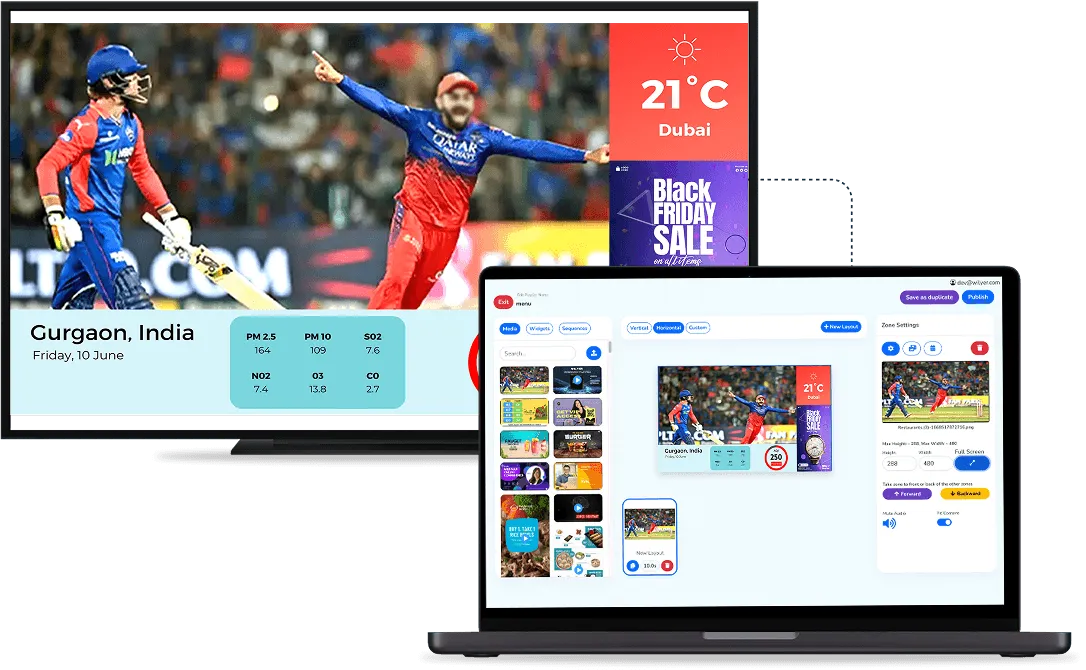
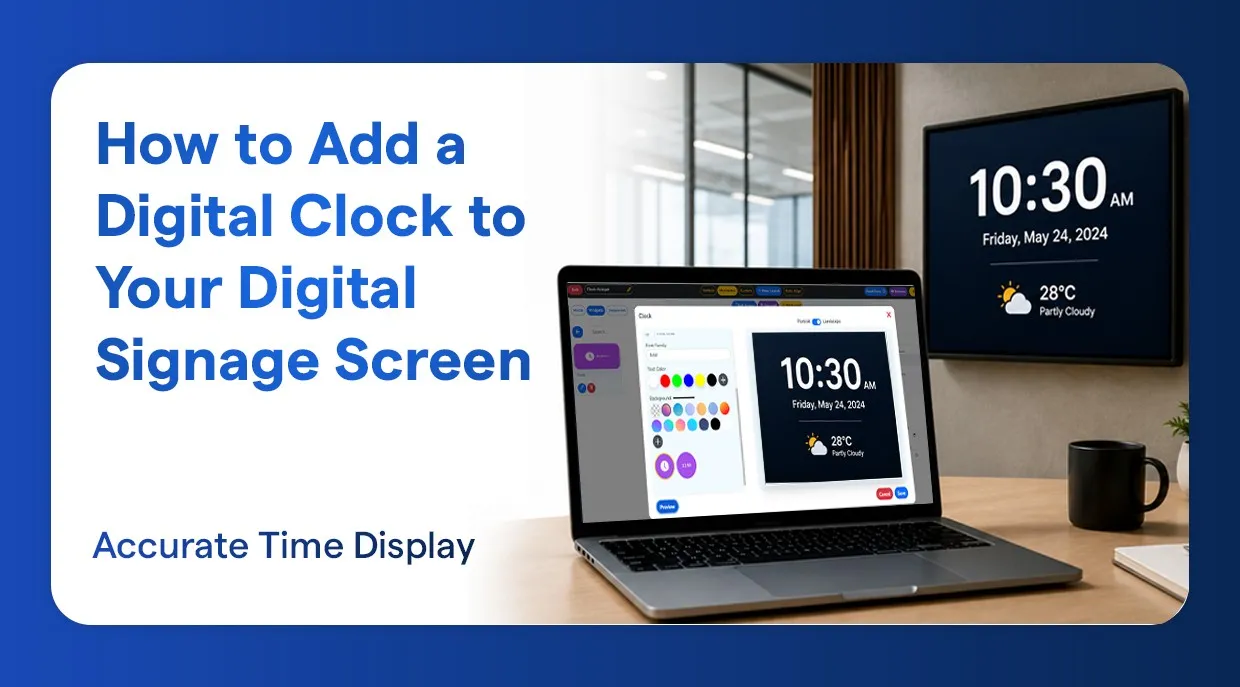
The Wilyer digital signage software includes a feature called the “Clock Widget” that enables users to display one or more clocks, including the world clock showing international time zones, on the same digital signage screen. In this document, you will learn exactly how to use this feature in just a few minutes.
Why Use a Clock Widget on Your Signage Screen
Adding the clock widget to your digital signage screen has several advantages:
- Real Time Awareness: Your visitors, employees, and/or customers can immediately know the current time without the need to use their phones.
- Global Office Clock Display: Display several clocks for multiple time zones simultaneously. This feature is especially useful for businesses with international teams.
- Professional Presentation: A clock widget on your digital signage screen shows your audience that your display is active and well-maintained.
- Multi-Timezone Clock Signage Widget: Coordinate business schedules across multiple international teams simultaneously.
- International Clock Signage Widget: Ideal for use in an airport, hotel, trading floor, corporate lobby, and/or any business serving international clients.
Before You Begin
Please ensure you have the following:
- An active Wilyer account (sign up at wilyer.com )
- A digital signage screen registered in your Wilyer Dashboard
- Basic familiarity with the Wilyer Interface - no technical expertise required.
Step-By-Step: Adding a Digital Clock Widget
Follow these steps to set up and publish your digital clock widget on your digital signage screens:
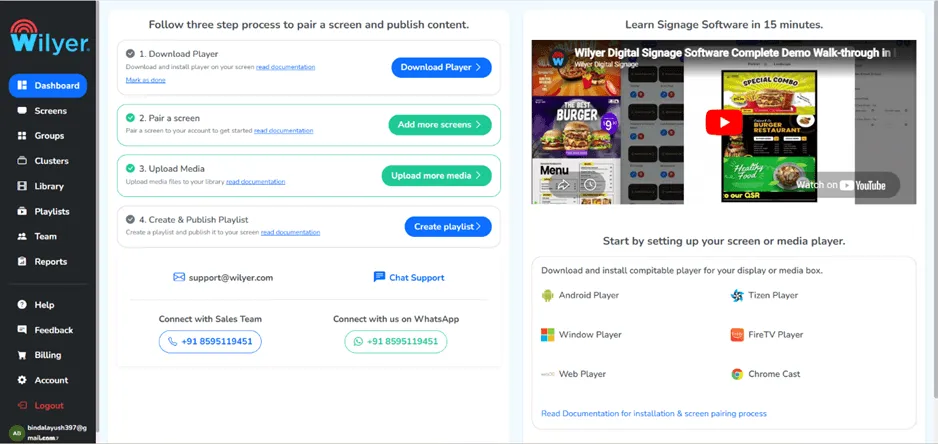
Step 1: Go to the Wilyer Dashboard
First, you will need to log in to your Wilyer account and access the main dashboard. This is the central area of the Wilyer interface where you can control and access everything related to your digital signage screens. For a moment, you might want to familiarize yourself with the left-hand navigation menu, as you will need it throughout the setup process.
Step 2: Navigate to the Playlist section
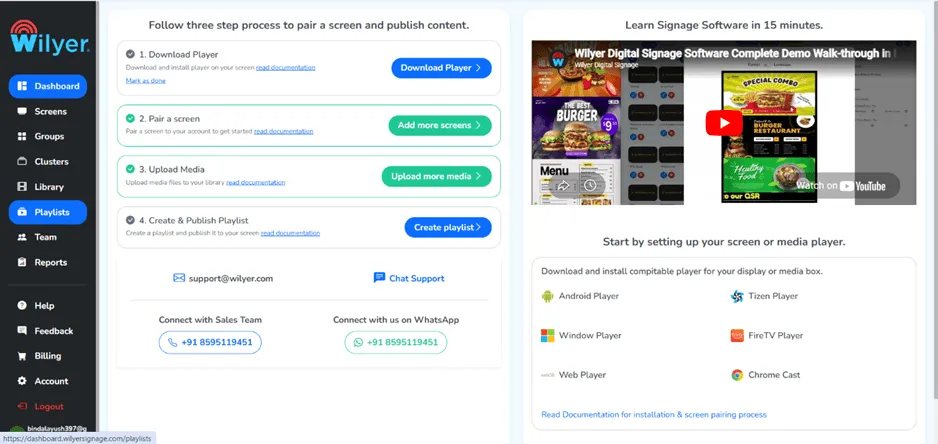
From the left-hand navigation menu, you will need to click on the “Playlist” section. This section is the core of Wilyer, as it enables you to group widgets into playlists for seamless display on your digital screens. All your created playlists will be displayed in this section.
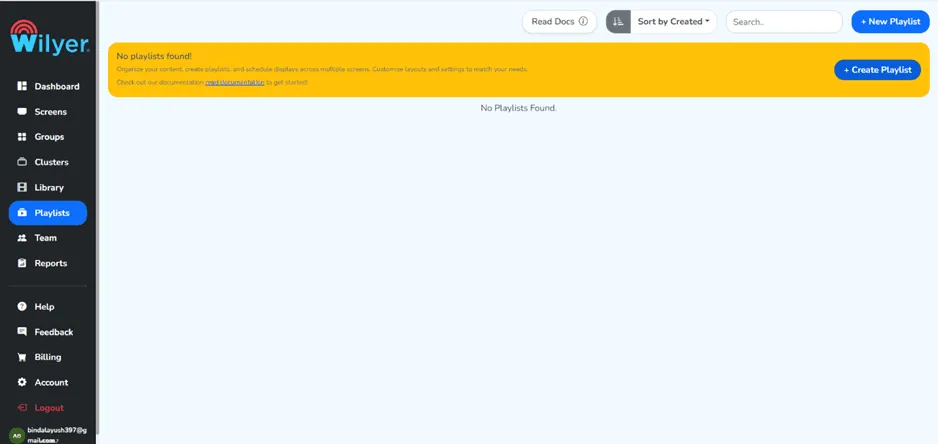
Step 3: Click on the “+ Create Playlist” button
From within the Playlist section, click on the “+ Create Playlist” button to start building your playlist. This playlist will hold your clock widget and any other content you would like to display on your digital signage screens.
Step 4: Fill in your Credentials and Create Your Playlists
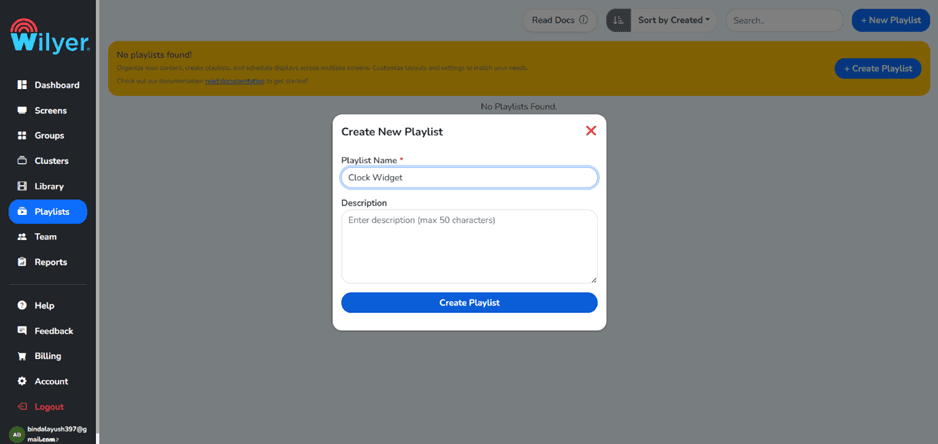
A form will pop up asking you for your playlist information. Enter a descriptive and easy-to-understand playlist name, e.g., “Office Clock Display” or “World Clock Signage Screen”, and fill in the rest of them.
Step 5: Your Playlist has been Created
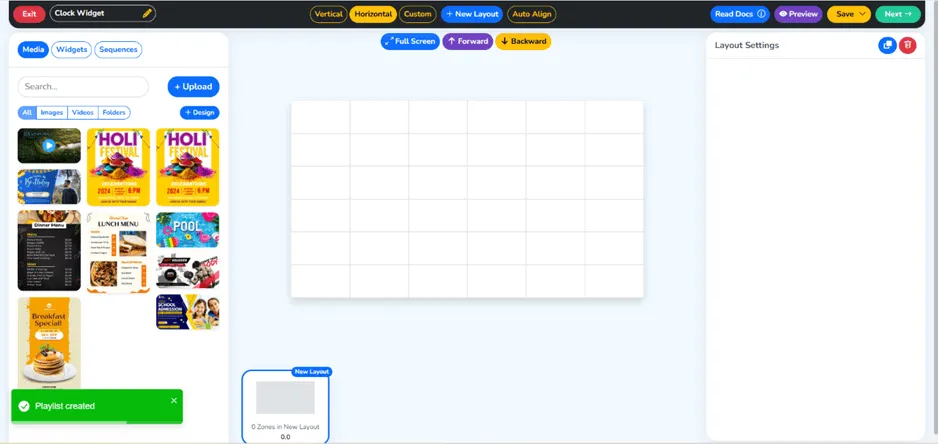
Once you have filled in the form, you will see your playlist displayed in the Playlist section, confirming that you have successfully created a playlist.
Step 6: Go to the Widget Section
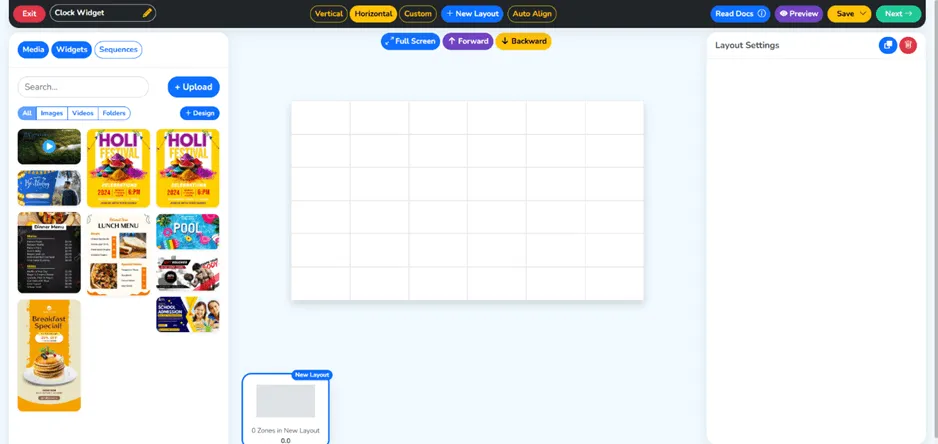
From the left navigation menu, navigate to the Widget section. This section holds all the content widgets offered by Wilyer, including the news ticker widget, social media widgets, weather widget, and the clock widget. Explore the various widgets you can display on your digital screens in addition to the clock.
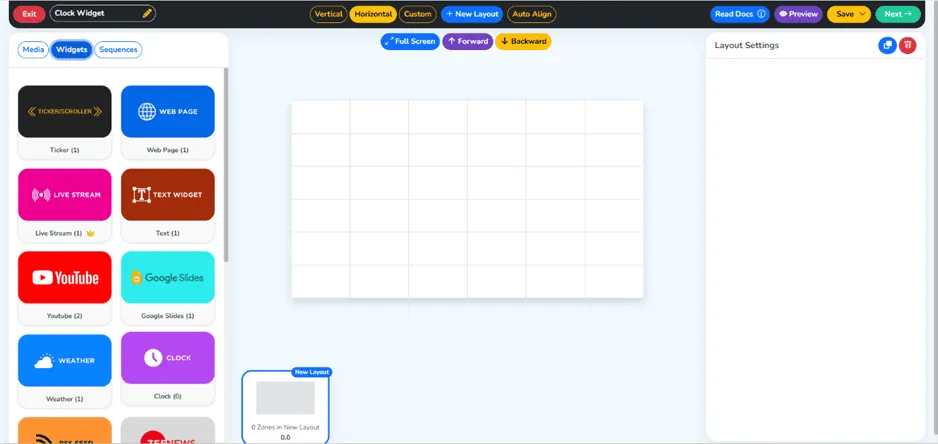
Step 7: Click on the clock Widget
The next step is to click on the Click Widget within the widget section. This is a versatile widget since it can display different formats of the clock. It can thus be used in different scenarios, from a local clock display to an international clock digital signage widget for displaying multiple time zones simultaneously on a single screen for global audiences.
Step 8: Create a New Widget
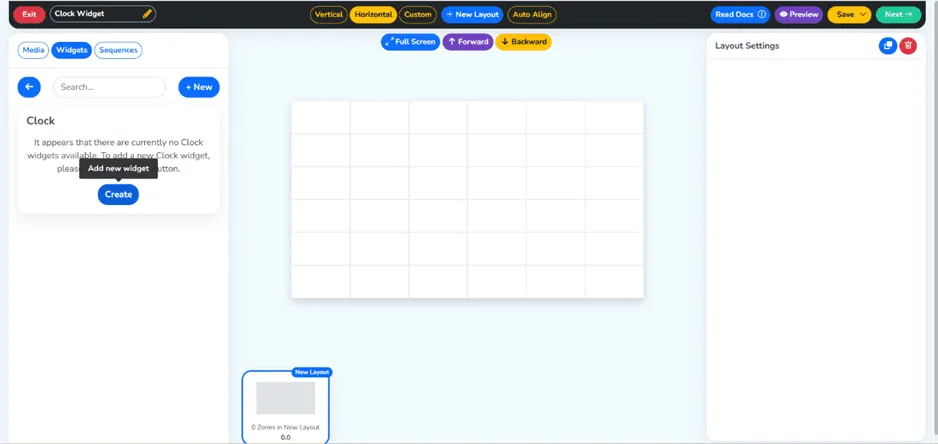
After selecting the clock widget, you will then click on the option for creating a new widget. This will give you access to the Widget’s settings, where you can completely customize your clock widget according to your requirements.
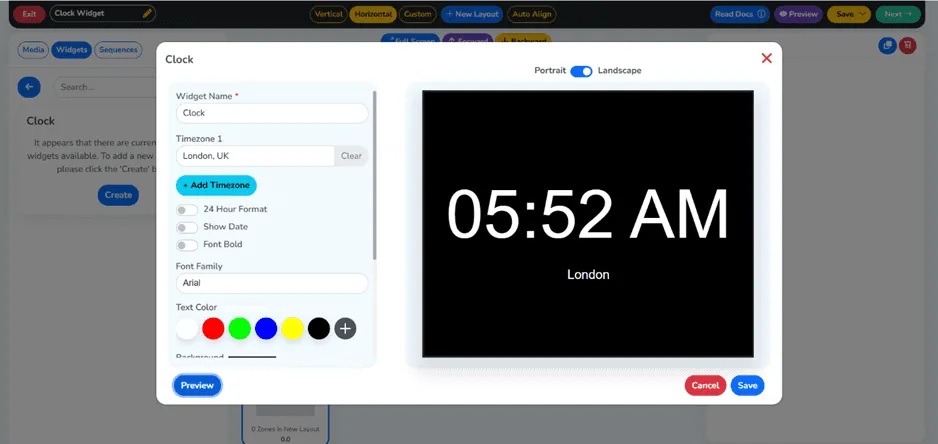
Step 9: Fill In Your Credentials and Click on the Save Button
The next step is to fill in your requirements in the fields provided for the creation of the clock widget. For instance, you can select your preferred time zone for a single time zone clock digital signage widget, select between 12-hour and 24-hour formats, and customize the style of the clock. After filling in your requirements, you will click on the Save button.
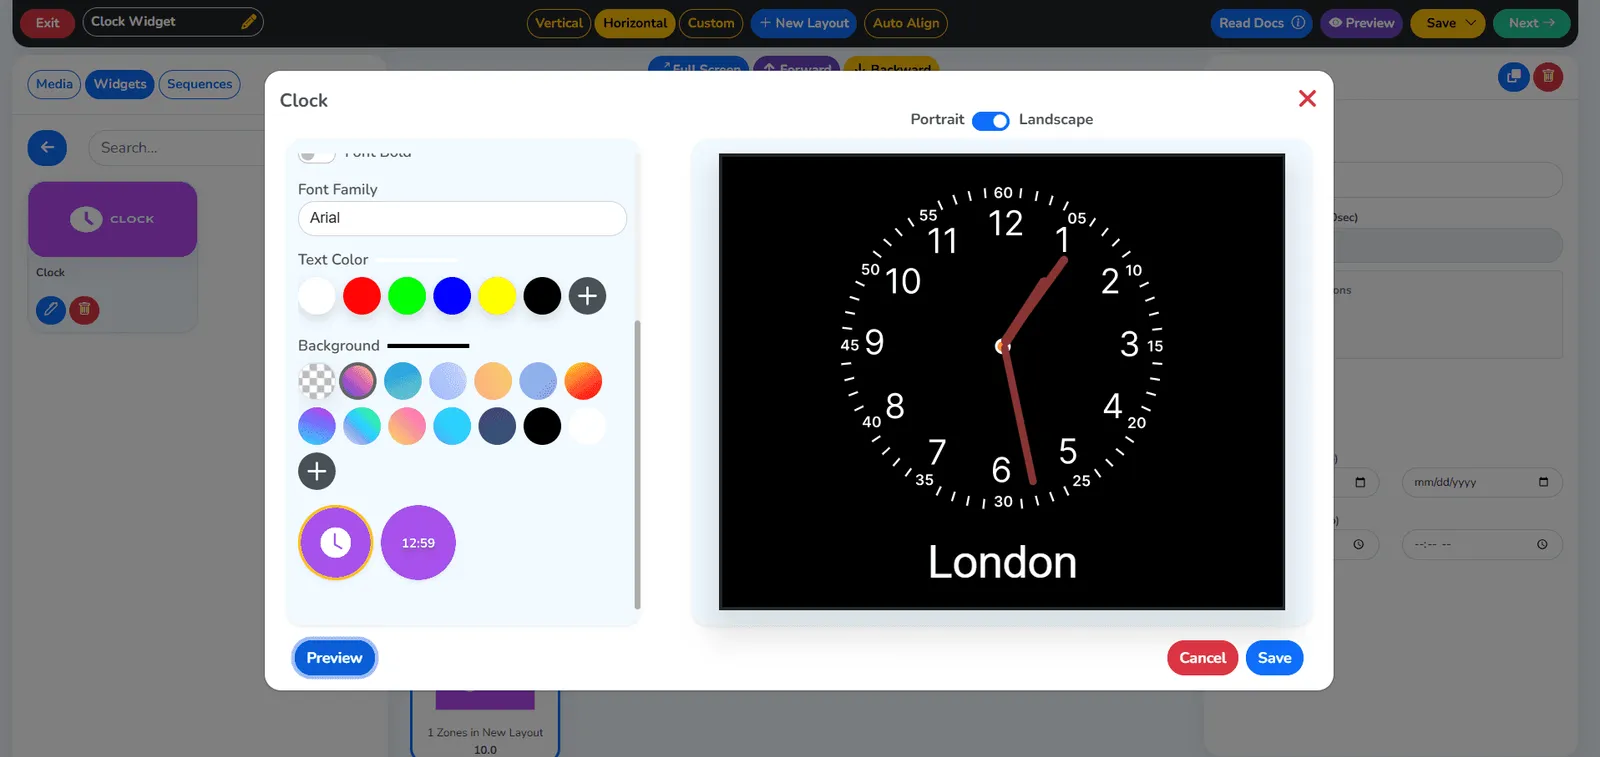
Choose your preferred clock style based on your display needs. Use an analog clock for a classic, visual appeal, or a digital clock for precise time readability. Both options enhance your signage by delivering clear, real-time information in a professional format.
Step 10: Your Widget has been Created Successfully
After filling in your requirements in the fields provided, you will see a message indicating that your clock widget has been successfully created. You can create an additional clock widget for different time zones or display styles and add them to the same or different playlists.
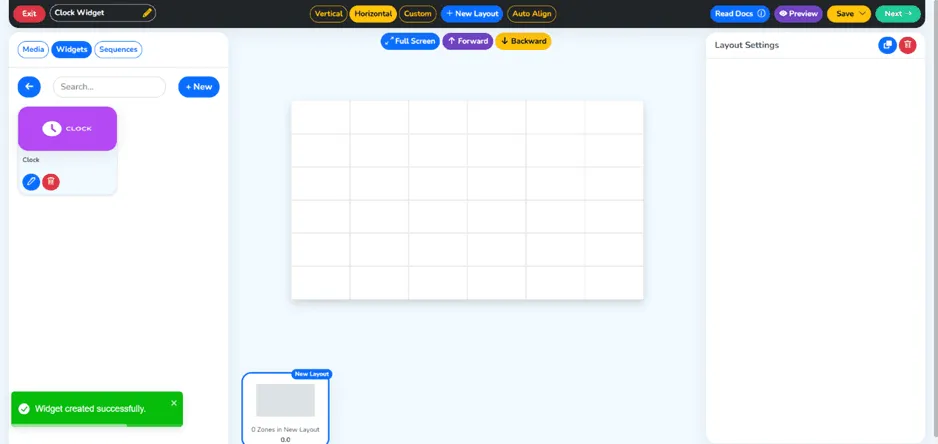
Step 11: Drag and drop the Clock widget into the Playlist
Next, go back to your playlist and add the clock widget by dragging the clock widget from the widget library and dropping it into the playlist. You can move the widget in the playlist and place it alongside other content items to create your complete digital signage screen.
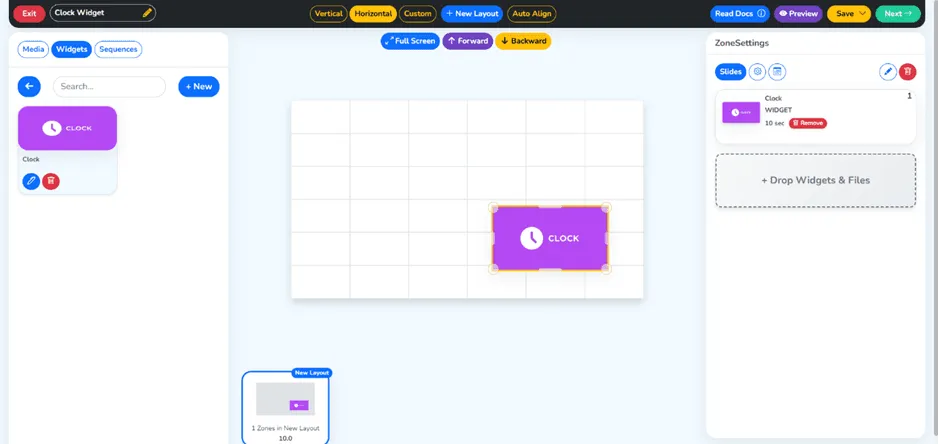
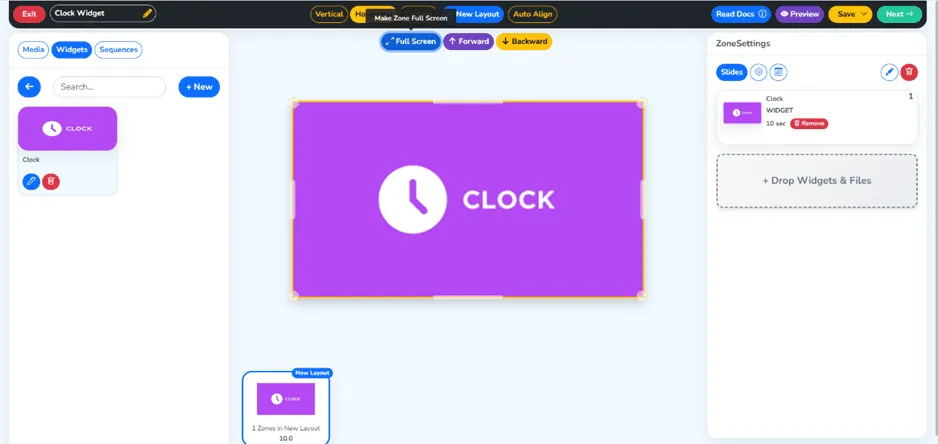
Step 12: Click Full Screen and the top right Green Next Button
Having created your playlist, click the full-screen preview button to see exactly how your clock widget will display on your digital signage screen. Ensure you take your time to review the display of the clock widget in terms of the clock face size, the display of the time, and the zone labels. and the general display. Having done this, click the next button located at the top right corner of the display.
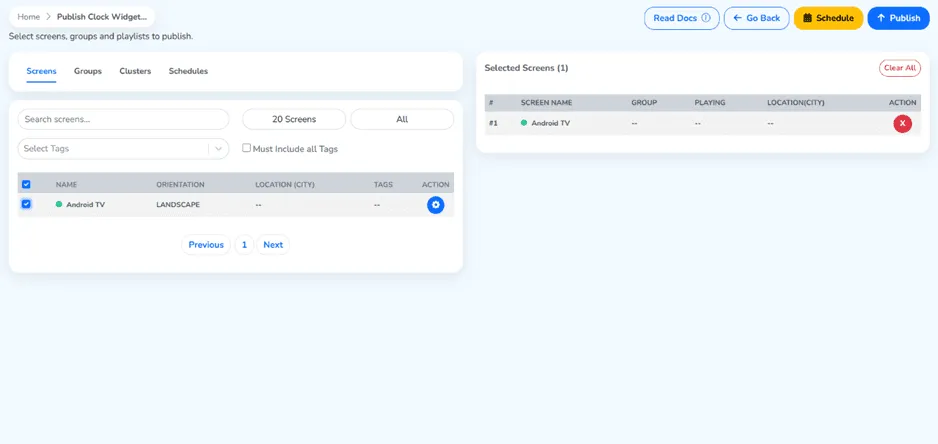
Step 13: Target Your Screen and click on the Publish Button
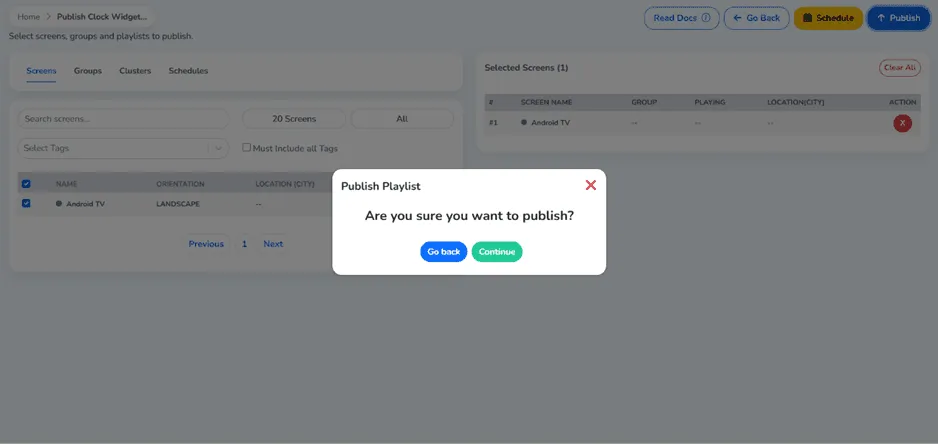
At this stage, you will be required to choose the digital signage screen on which you want your clock playlist published. This is done by choosing the desired digital signage screen from the list of registered digital signage screens on your Wilyer account. After confirming that the chosen digital signage screen is the right one, click on the publish button to publish the playlist.
Step 14: Click the Continue button, and click on the blue Publish button
At this stage, a prompt confirming the decision to publish the playlist will be displayed on the chosen digital signage screen. After confirming the details, click on the Continue button to successfully publish your clock playlist on the chosen digital signage screen.
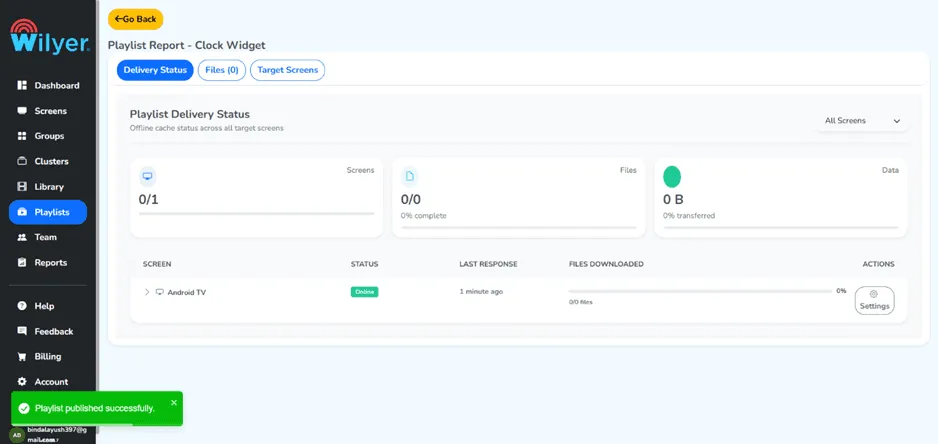
Step 15: Your Playlist has been Published Successfully
Congratulations, your clock playlist is successfully published on the digital signage screen. Your clock widget is live on the digital signage screen, updating continuously. You can display a simple clock on your digital signage screen, display the time in different parts of the world, or create an office clock that displays on a different digital signage screen.
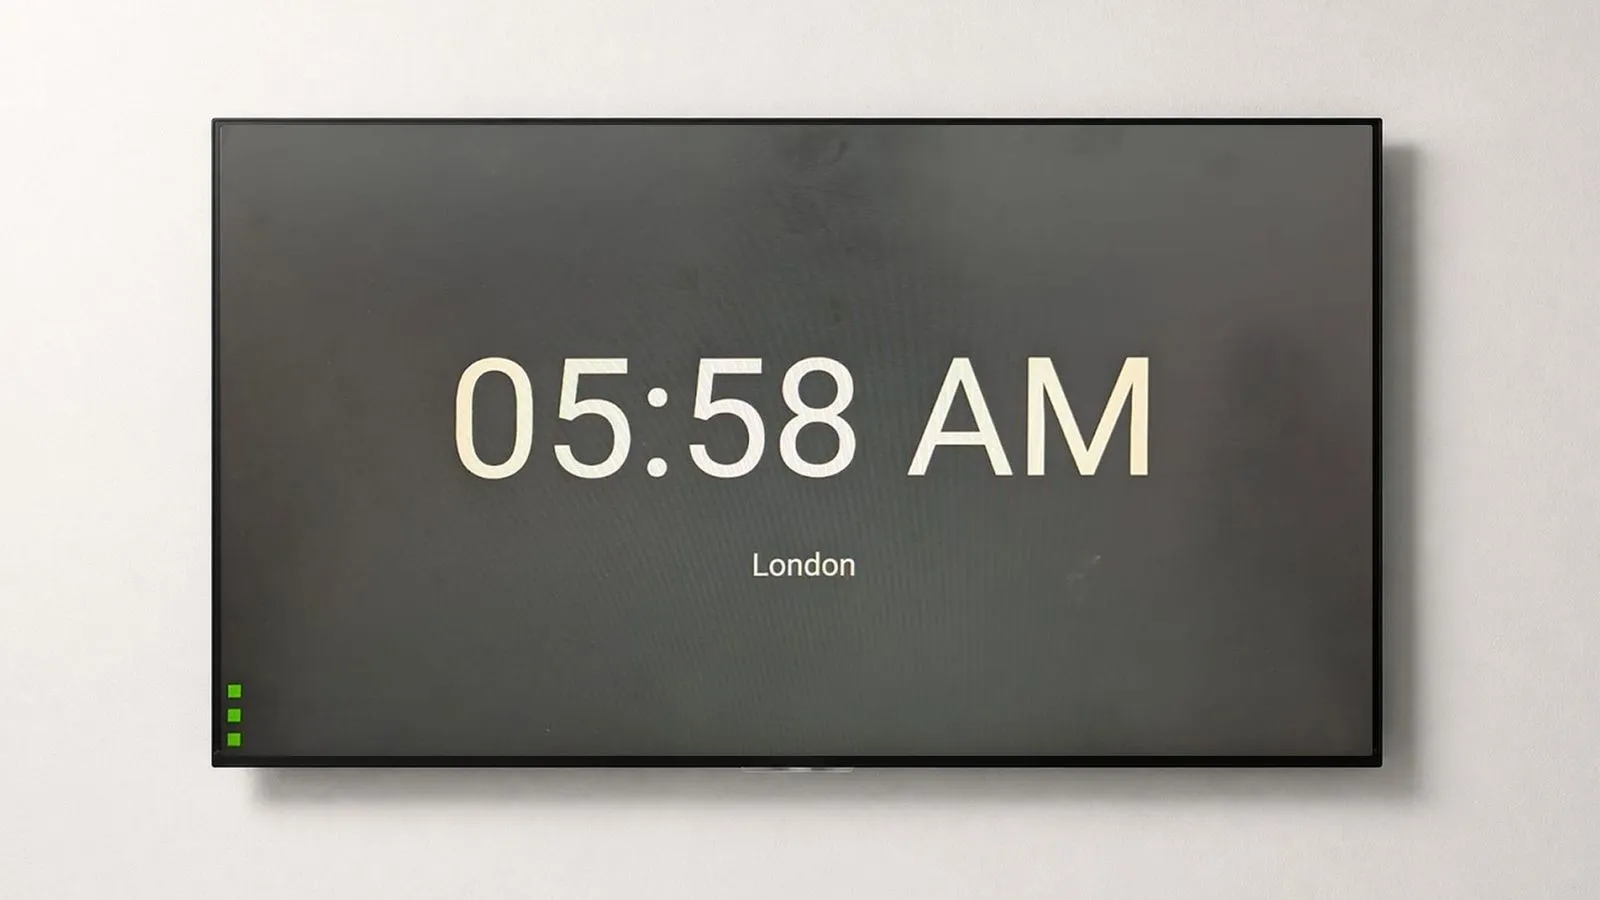
Final Step: Your Clock Widget is live on your screen
Here you see what your digital signage display will look like with our clock widget live and running. Whether you have chosen a single clock for a local audience or a world clock for a global audience, your digital signage display will now have live clock information displayed in a clean and professional format.
Conclusion
Adding a digital clock to your digital signage display has just become easier. With our clock widget digital signage, you can add a clock to your display in just minutes. No technical knowledge required.
Whether you want to display a single clock for a local audience, a world clock for a global audience, or even a multi-time zone clock signage widget for a global audience, Wilyer has you covered.